Self-Host MeshCentral on a VPS for Web-Based Remote Management
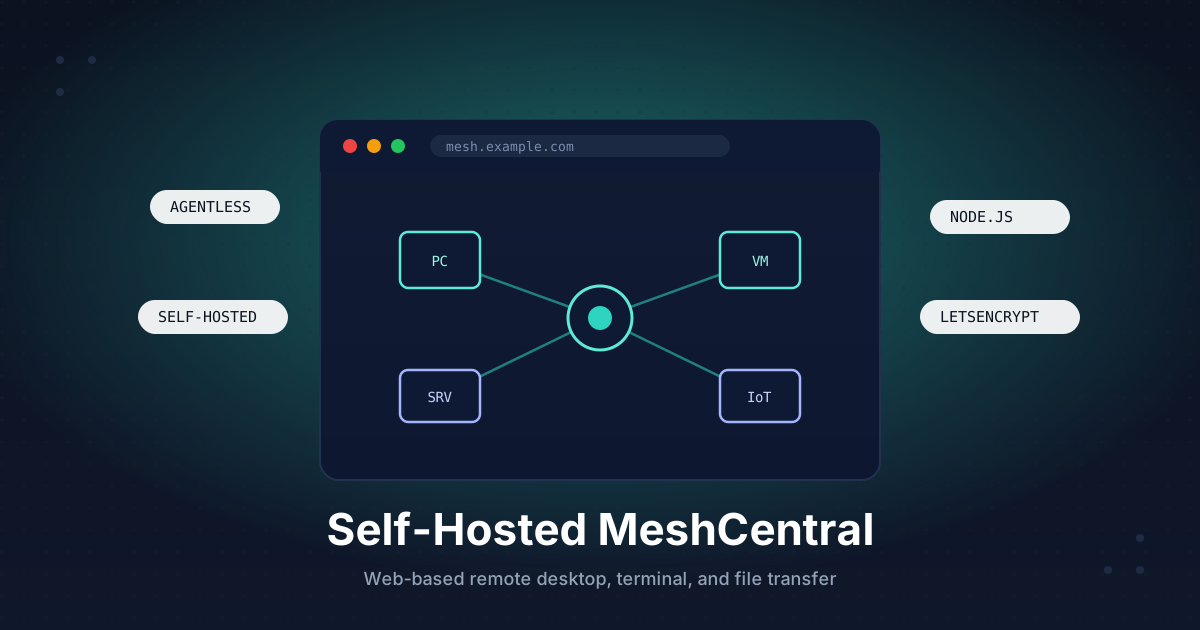
If you look after more than a couple of machines - a few home lab boxes, some client laptops, a rack of servers - you eventually want one place to reach all of them. MeshCentral gives you exactly that: a self-hosted web console where every managed device shows up in a list, and you can open a remote desktop, a terminal, or a file browser to any of them from a single browser tab.
MeshCentral is an open-source remote management platform. Each device runs a lightweight agent that calls home to your server over an outbound connection, so you can manage machines behind NAT, firewalls, and home routers without opening a single inbound port on them. The server handles remote desktop, terminal, file transfer, power actions, and even Intel AMT for out-of-band control. It is the kind of tool an MSP pays for, except you run it yourself for the price of a small VPS.
This guide walks through a production-ready install: Node.js, a dedicated service user, MeshCentral's built-in Let's Encrypt for automatic HTTPS, a systemd service, your first device, and hardening.
TL;DR
- Install Node.js LTS, then
npm install meshcentralinto/opt/meshcentral - Let MeshCentral terminate TLS itself with built-in Let's Encrypt - no reverse proxy needed
- Run it as a systemd service with
CAP_NET_BIND_SERVICEso it can bind ports 80 and 443 - The first account you create becomes the site administrator
- Turn off open registration immediately after, then enable two-factor auth
- Install an agent on each device; it connects outbound, so no inbound ports on the client
Total time: about 25 minutes.
What You Need
- A VPS running Ubuntu 22.04 or 24.04 with a public IPv4 address
- At least 1 GB RAM (2 GB is comfortable once you manage dozens of devices)
- A domain or subdomain pointed at the VPS, for example
mesh.example.com - Ports
80and443open to the internet (Let's Encrypt and agent traffic need them) - Root or sudo access
Step 1: Point a Subdomain at Your VPS
In your DNS provider, add an A record:
mesh.example.com → YOUR_VPS_IPV4
Add an AAAA record too if you use IPv6. Verify it resolves before going further, because Let's Encrypt validates over this hostname:
dig +short mesh.example.com
The output must match your VPS IP.
Step 2: Install Node.js
MeshCentral runs on Node.js. Install the current LTS from NodeSource rather than the often-outdated distro package:
curl -fsSL https://deb.nodesource.com/setup_20.x | sudo -E bash -
sudo apt install -y nodejs
Confirm the version:
node --version
npm --version
You want Node 18 or newer. Node 20 LTS is the safe default.
Step 3: Install MeshCentral Under a Dedicated User
Never run a public-facing service as root. Create a system user that owns the install directory:
sudo useradd -r -m -d /opt/meshcentral -s /usr/sbin/nologin meshcentral
Install MeshCentral into that directory:
cd /opt/meshcentral
sudo npm install meshcentral
sudo chown -R meshcentral:meshcentral /opt/meshcentral
The first time the server starts it creates a meshcentral-data folder holding config.json, the database, and your certificates. That single folder is the only thing you ever need to back up.
Step 4: Configure TLS and the Domain
MeshCentral can request and renew its own Let's Encrypt certificate. This is the recommended setup - it avoids the WebSocket headaches that come with sitting agents behind a reverse proxy.
Generate the default config by starting the server once, then stopping it with Ctrl+C:
sudo -u meshcentral node /opt/meshcentral/node_modules/meshcentral
Now edit /opt/meshcentral/meshcentral-data/config.json to look like this, swapping in your real domain and email:
{
  "settings": {
    "cert": "mesh.example.com",
    "WANonly": true,
    "port": 443,
    "redirPort": 80
  },
  "domains": {
    "": {
      "title": "My Mesh",
      "newAccounts": true
    }
  },
  "letsencrypt": {
    "email": "[email protected]",
    "names": "mesh.example.com",
    "production": false
  }
}
WANonly tells MeshCentral it lives on a public server with no local LAN to manage, which is correct for a VPS.
Step 5: Run MeshCentral as a Service
Binding to ports 80 and 443 normally requires root. Instead of running the whole process as root, grant just the bind capability through systemd. Create /etc/systemd/system/meshcentral.service:
[Unit]
Description=MeshCentral Server
After=network.target

[Service]
Type=simple
User=meshcentral
Group=meshcentral
WorkingDirectory=/opt/meshcentral
ExecStart=/usr/bin/node /opt/meshcentral/node_modules/meshcentral
Restart=always
RestartSec=5
AmbientCapabilities=CAP_NET_BIND_SERVICE
NoNewPrivileges=true

[Install]
WantedBy=multi-user.target
Enable and start it, then watch the logs:
sudo systemctl daemon-reload
sudo systemctl enable --now meshcentral
sudo journalctl -u meshcentral -f
On first production start you should see lines about requesting a certificate and the server listening on port 443. If you still see a self-signed certificate, the Let's Encrypt request has not completed yet - check the log for the reason.
Step 6: Open the Firewall
Allow web traffic and keep SSH reachable:
sudo ufw allow OpenSSH
sudo ufw allow 80/tcp
sudo ufw allow 443/tcp
sudo ufw enable
Port 80 is used for the Let's Encrypt HTTP challenge and to redirect plain HTTP to HTTPS. Port 443 carries both the web console and every agent connection.
Step 7: Create the Administrator Account
Browse to https://mesh.example.com. You will land on the login page with a "Create Account" link.
The very first account created on a fresh MeshCentral server automatically becomes the full site administrator. Create it with a strong, unique password and a real email address so you can recover it.
Step 8: Lock Down Registration
Now that you own the admin account, close the door behind you. Edit config.json and set newAccounts to false:
"domains": {
  "": {
    "title": "My Mesh",
    "newAccounts": false
  }
}
Restart the service:
sudo systemctl restart meshcentral
From now on you invite users from the admin console instead of letting anyone self-register. To add a teammate later, use My Users then Add User, or generate an invite link tied to a specific device group.
Step 9: Add Your First Device
Devices are organized into groups. In the web console:
- Open My Devices and click Add Device Group
- Name it something like
Serversand choose the Manage with software agent type - Open the new group and click Add Agent
MeshCentral shows you per-platform installers. The key thing to understand is that the agent makes an outbound connection to your server, so the managed machine needs no inbound ports and no public IP.
For a Windows machine, download the executable installer and run it as administrator.
For a Linux machine, MeshCentral gives you a one-line installer. It looks like this:
wget -q "https://mesh.example.com/meshagents?script=1" -O meshinstall.sh
sudo bash meshinstall.sh https://mesh.example.com 'GROUPIDHASH'
Copy the exact command from the Add Agent dialog - the GROUPIDHASH is unique to your group and ties the agent to it. Within a few seconds the device appears online in the console, and you can open a remote desktop, terminal, or file session straight from the browser. For Windows targets, this complements a solid RDP hardening checklist on the box itself, and on Linux it pairs well with xRDP for a full graphical desktop.
MeshCentral, Apache Guacamole, and RustDesk solve overlapping problems from different angles: Guacamole is a clientless gateway you point at existing RDP/VNC/SSH hosts, RustDesk is a fast attended remote-desktop relay, and MeshCentral is full fleet management with an always-on agent. Many people run more than one.
Step 10: Enable Two-Factor Authentication
A console that can take over every machine you manage is a high-value target. Turn on two-factor auth for your admin account right away.
Click your account name in the top-right, open Account Security, and add either a TOTP authenticator app (Aegis, Google Authenticator, 1Password) or a hardware security key. You can require two-factor for all users by adding this to the domain block in config.json:
"domains": {
  "": {
    "title": "My Mesh",
    "newAccounts": false,
    "twoFactorCookieDurationDays": 7,
    "passwordRequirements": { "min": 12, "twofactor": true }
  }
}
Restart MeshCentral and every account will be prompted to enroll a second factor on next login.
Step 11: Automate Backups
MeshCentral can back up its own database on a schedule. Add an autoBackup block under settings in config.json:
"settings": {
  "cert": "mesh.example.com",
  "WANonly": true,
  "port": 443,
  "redirPort": 80,
  "autoBackup": {
    "backupIntervalHours": 24,
    "keepLastDaysBackup": 30
  }
}
That drops dated archives into meshcentral-data/backups. For real safety, copy the entire meshcentral-data directory off-site every night. A short cron job that syncs it to object storage does the trick:
echo "30 3 * * * meshcentral tar -czf /tmp/mesh-\$(date +\%F).tar.gz -C /opt/meshcentral meshcentral-data && rclone copy /tmp/mesh-\$(date +\%F).tar.gz remote:mesh-backups" | sudo tee /etc/cron.d/meshcentral-backup
Losing meshcentral-data means re-enrolling every agent, so treat it like the keys to your fleet.
Troubleshooting
- Browser shows a self-signed certificate warning: Let's Encrypt has not issued yet. Check
journalctl -u meshcentralfor the ACME error - usually DNS not resolving, port 80 blocked, orproductionstill set tofalse. - Certificate requests suddenly fail with rate-limit errors: you hit Let's Encrypt's production limit from repeated failed tries. Switch back to
"production": false, fix the underlying issue, verify with staging, then flip totrueonce. - Agent installs but stays offline: the client's outbound HTTPS is blocked, or the
certname inconfig.jsondoes not match the URL the agent was given. They must be identical. - Service will not bind port 443: the
AmbientCapabilities=CAP_NET_BIND_SERVICEline is missing or the unit is running as a user without it. Re-check the systemd file and rundaemon-reload. - Locked out after disabling registration: temporarily set
newAccountsback totrue, restart, create the account, then turn it off again.
Going Further
- Keep the console private: put MeshCentral behind a VPN like Tailscale or WireGuard so the admin login never faces the open internet.
- Harden the host underneath: lock down the VPS itself with key-only SSH and Fail2Ban before you expose any web service.
- Tunnel RDP and SSH: the MeshCentral Router tool maps a port on your laptop through the agent, letting you run a native RDP or SSH client to a machine that has no public IP.
- Intel AMT: on supported hardware, MeshCentral can power machines on, reinstall an OS, and reach the BIOS out-of-band.
- LDAP or SSO: swap local accounts for your existing directory once you have more than a handful of operators.
A self-hosted MeshCentral gives you the reach of a commercial RMM without the per-seat bill or handing remote control of your machines to a third party.
Need a VPS to run your own remote management hub? Our Linux plans come with full root access, fast NVMe storage, and IPv6 out of the box. See the options.