Self-Host Homepage Dashboard on a VPS
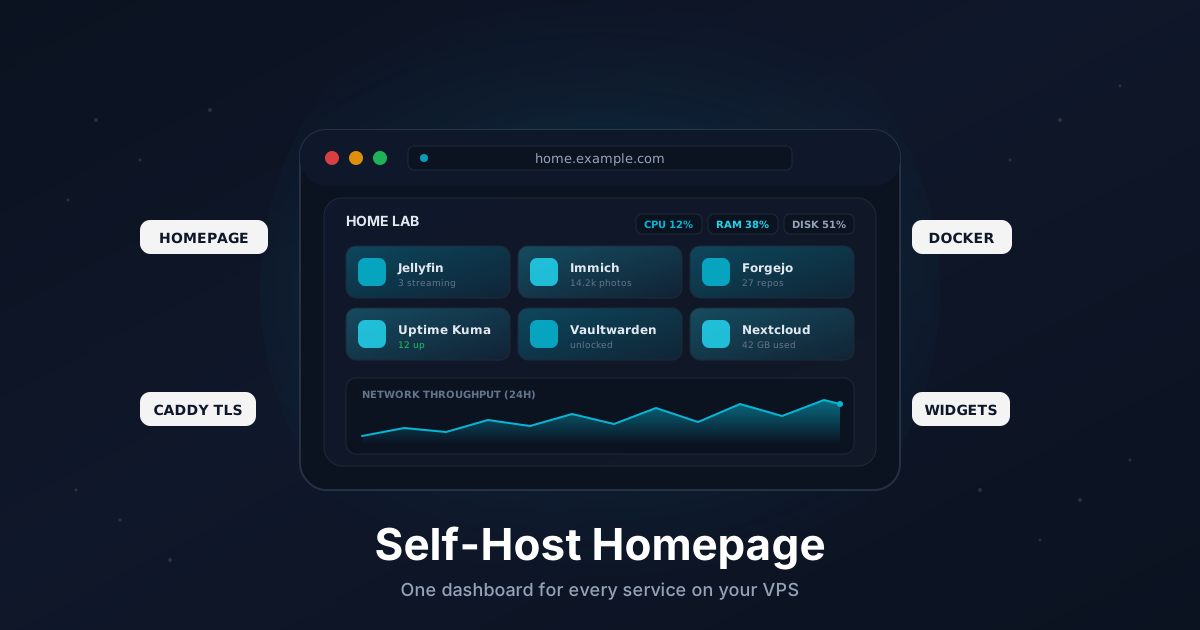
If you have been self-hosting for a while, your bookmarks bar is a mess. You have Jellyfin on one port, Uptime Kuma on a subdomain, a git server somewhere, a photo library, and half a dozen admin panels you can never remember the URL for. A dashboard fixes that: one clean start page that links to everything, shows live status, and greets you with the numbers you actually care about.
Homepage is an open-source, self-hosted dashboard built exactly for this. It is fast, configured with plain YAML files, and ships with more than 100 service widgets that pull live data straight from the apps you already run - unread counts, download speeds, disk usage, container health. It renders in milliseconds, uses almost no memory, and never phones home.
This guide walks through a production install on a single VPS: Docker, a Caddy reverse proxy with automatic HTTPS, service and info widgets, automatic Docker container discovery, and backups.
TL;DR
- Install Docker and Docker Compose on a fresh VPS
- Point a subdomain like
home.example.comat your server - Run Homepage and Caddy from one
docker-compose.yml - Edit five YAML files under
./configto add services, bookmarks, and widgets - Set
HOMEPAGE_ALLOWED_HOSTSor you get a blank page - Mount the Docker socket (read-only) for live container stats and auto-discovery
- Back up the
./configdirectory - it is the whole dashboard
Total time: about 15 minutes.
What You Need
- A VPS with 512 MB RAM (Homepage idles under 100 MB) running Ubuntu 22.04 or 24.04
- A domain you can add DNS records to
- Ports
80and443open to the internet for Let's Encrypt - Root or sudo access
Homepage is a static-feeling Next.js app. It is one of the lightest things you will ever put on a server, so it happily shares a box with everything it is pointing at.
Step 1: Point a Subdomain at Your VPS
In your DNS provider, add an A record for the dashboard:
home.example.com → YOUR_VPS_IPV4
Add an AAAA record too if you run IPv6. Verify it resolves before continuing:
dig +short home.example.com
DNS has to resolve first, or Caddy cannot complete the Let's Encrypt challenge.
Step 2: Install Docker and Docker Compose
On a fresh Ubuntu box:
sudo apt update
sudo apt install -y ca-certificates curl

sudo install -m 0755 -d /etc/apt/keyrings
sudo curl -fsSL https://download.docker.com/linux/ubuntu/gpg \
  -o /etc/apt/keyrings/docker.asc
sudo chmod a+r /etc/apt/keyrings/docker.asc

echo "deb [arch=$(dpkg --print-architecture) signed-by=/etc/apt/keyrings/docker.asc] \
  https://download.docker.com/linux/ubuntu $(. /etc/os-release && echo $VERSION_CODENAME) stable" | \
  sudo tee /etc/apt/sources.list.d/docker.list > /dev/null

sudo apt update
sudo apt install -y docker-ce docker-ce-cli containerd.io docker-buildx-plugin docker-compose-plugin
Verify:
docker --version
docker compose version
Step 3: Open the Firewall
If you use UFW:
sudo ufw allow 22/tcp
sudo ufw allow 80/tcp
sudo ufw allow 443/tcp
sudo ufw enable
Caddy needs 80 for the ACME HTTP challenge and 443 for HTTPS. Homepage's own port 3000 stays internal - never expose it directly.
Step 4: Create the Project Directory
sudo mkdir -p /opt/homepage
cd /opt/homepage
sudo mkdir -p config caddy-data caddy-config
Everything that matters lives under /opt/homepage/config. That single directory is your entire dashboard, so it is the one thing to back up.
Step 5: Write the Compose File
Create /opt/homepage/docker-compose.yml:
services:
  homepage:
    image: ghcr.io/gethomepage/homepage:latest
    container_name: homepage
    restart: unless-stopped
    environment:
      HOMEPAGE_ALLOWED_HOSTS: "home.example.com"
    volumes:
      - ./config:/app/config
      - /var/run/docker.sock:/var/run/docker.sock:ro
    networks:
      - homepage-net

  caddy:
    image: caddy:2
    container_name: homepage-caddy
    restart: unless-stopped
    ports:
      - "80:80"
      - "443:443"
    volumes:
      - ./Caddyfile:/etc/caddy/Caddyfile:ro
      - ./caddy-data:/data
      - ./caddy-config:/config
    networks:
      - homepage-net

networks:
  homepage-net:
A few notes:
- The Docker socket is mounted read-only. Homepage uses it to read container names, state, and CPU/memory stats. It never needs write access.
HOMEPAGE_ALLOWED_HOSTSmust list the exact public hostname. Skip it and you get a blank page with aHost validation failederror in the logs.- Pin to a specific tag like
v1.5.0in production if you want to avoid surprise upgrades.latestis fine while you are getting started.
Step 6: Write the Caddyfile
Create /opt/homepage/Caddyfile:
home.example.com {
    encode zstd gzip

    reverse_proxy homepage:3000
}
Caddy requests a Let's Encrypt certificate on first boot and renews it forever without any further work.
Step 7: Start the Stack
cd /opt/homepage
sudo docker compose up -d
sudo docker compose logs -f
Watch the logs until Caddy reports the certificate was issued, then open https://home.example.com. You will see Homepage's default welcome layout. On first run it writes starter YAML files into ./config, which you are about to edit.
Step 8: Set the Page Title and Layout
Open /opt/homepage/config/settings.yaml. This file controls the global look:
title: Home Lab
favicon: https://gethomepage.dev/img/favicon.ico
theme: dark
color: slate

headerStyle: boxed

layout:
  Media:
    style: row
    columns: 3
  Infrastructure:
    style: row
    columns: 3
  Tools:
    style: column
The layout block defines the groups your services appear in and how they are arranged. The group names here must match the group headings you use in services.yaml in the next step.
Step 9: Add Your Services
Open /opt/homepage/config/services.yaml. This is the heart of the dashboard. Services are organized into the same groups you named in the layout:
- Media:
    - Jellyfin:
        href: https://jellyfin.example.com
        description: Movies and shows
        icon: jellyfin.png

    - Immich:
        href: https://photos.example.com
        description: Photo library
        icon: immich.png

- Infrastructure:
    - Uptime Kuma:
        href: https://status.example.com
        description: Service monitoring
        icon: uptime-kuma.png

    - Forgejo:
        href: https://git.example.com
        description: Git hosting
        icon: forgejo.png

- Tools:
    - Vaultwarden:
        href: https://vault.example.com
        description: Password manager
        icon: vaultwarden.png
Icons come from the built-in dashboard-icons set - just reference the file name and Homepage fetches it. Reload the browser and your links appear immediately; Homepage watches the config files and hot-reloads on save.
Step 10: Add Live Service Widgets
Static links are useful, but Homepage's real value is the widgets that pull live data from each app's API. Extend a service with a widget block:
- Infrastructure:
    - Uptime Kuma:
        href: https://status.example.com
        description: Service monitoring
        icon: uptime-kuma.png
        widget:
          type: uptimekuma
          url: https://status.example.com
          slug: public

    - Jellyfin:
        href: https://jellyfin.example.com
        description: Movies and shows
        icon: jellyfin.png
        widget:
          type: jellyfin
          url: http://jellyfin:8096
          key: YOUR_JELLYFIN_API_KEY
Each widget type expects a slightly different set of fields - usually a url and an API key or credentials. The widget catalog documents all 100-plus of them. A couple of practical rules:
- Point widget
urlvalues at the internal container address (http://jellyfin:8096) when the apps share a Docker network. It is faster and keeps API keys off the public internet. - Never commit real API keys to a git repo. Homepage supports environment-variable substitution with
{{HOMEPAGE_VAR_JELLYFIN_KEY}}if you want secrets kept out of the YAML.
Step 11: Turn On Docker Discovery
Because you mounted the Docker socket in Step 5, Homepage can read container stats and even auto-generate service tiles from labels. First, register the socket in /opt/homepage/config/docker.yaml:
my-docker:
  socket: /var/run/docker.sock
Now any service can show live CPU, memory, and status by referencing it:
- Infrastructure:
    - Forgejo:
        href: https://git.example.com
        icon: forgejo.png
        server: my-docker
        container: forgejo
You can also skip services.yaml entirely for some apps and let containers advertise themselves with labels in their own compose files:
labels:
  homepage.group: Media
  homepage.name: Jellyfin
  homepage.icon: jellyfin.png
  homepage.href: https://jellyfin.example.com
  homepage.description: Movies and shows
Homepage discovers those on the next refresh. This keeps each service's dashboard entry next to the service itself, which is much easier to maintain across a dozen stacks.
Step 12: Add Info Widgets and Bookmarks
Info widgets sit in the header. Open /opt/homepage/config/widgets.yaml:
- resources:
    cpu: true
    memory: true
    disk: /

- search:
    provider: duckduckgo
    target: _blank

- datetime:
    text_size: xl
    format:
      dateStyle: long
      timeStyle: short
That gives you a live resource meter for the host, a search box, and a clock. Then fill in /opt/homepage/config/bookmarks.yaml for the external links that do not deserve a full tile:
- Developer:
    - GitHub:
        - abbr: GH
          href: https://github.com
    - Docker Hub:
        - abbr: DH
          href: https://hub.docker.com

- Reference:
    - VPS Docs:
        - abbr: DOC
          href: https://rdp.sh/blog
Step 13: Lock Down Access
Homepage has no built-in login. The dashboard exposes internal hostnames, container names, and sometimes status data, so do not leave it open to the world. Pick one:
Restrict by IP in Caddy. If you have a static office IP or VPN exit:
home.example.com {
    encode zstd gzip

    @blocked not remote_ip 203.0.113.10 198.51.100.0/24
    respond @blocked 403

    reverse_proxy homepage:3000
}
Put it behind an auth proxy. Front the whole thing with Authelia for real single sign-on and 2FA.
Keep it on a private network. The cleanest option: only reach the dashboard over Tailscale or WireGuard, and never publish it on the open internet at all. Homepage is the perfect landing page for a private tailnet.
Step 14: Back Up the Config
The entire dashboard is a handful of YAML files under /opt/homepage/config. Back them up daily and you can rebuild the whole thing on a new box in minutes.
Create /usr/local/bin/homepage-backup.sh:
#!/usr/bin/env bash
set -euo pipefail

BACKUP_DIR="/var/backups/homepage"
DATE="$(date +%F)"
mkdir -p "$BACKUP_DIR"

tar -czf "$BACKUP_DIR/homepage-$DATE.tar.gz" -C /opt/homepage config

find "$BACKUP_DIR" -name "homepage-*.tar.gz" -mtime +14 -delete
Make it executable and schedule it:
sudo chmod +x /usr/local/bin/homepage-backup.sh
echo "30 3 * * * root /usr/local/bin/homepage-backup.sh" | \
  sudo tee /etc/cron.d/homepage-backup
Even simpler: keep config/ in a private git repo (scrub the API keys first) and you get version history for free. For off-site copies, push the backup directory to S3 or Backblaze B2 with rclone.
Step 15: Upgrade Safely
Homepage releases often. Upgrading is two commands:
cd /opt/homepage
sudo docker compose pull
sudo docker compose up -d
Read the release notes first - the project occasionally renames a config key between minor versions, and a bad key logs a clear error rather than silently ignoring it. Take a config backup before every upgrade and you can always roll back by pinning the previous image tag.
Troubleshooting
Blank page, Host validation failed in the logs. HOMEPAGE_ALLOWED_HOSTS is missing or does not match the browser hostname exactly. Set it to your public domain, no scheme, no port, and recreate the container.
Widgets show API Error or spin forever. The widget url is wrong or unreachable from inside the container. Use the internal Docker hostname, confirm both services share a network, and double-check the API key.
Docker stats say unsupported or show nothing. The socket is not mounted, or the container name in services.yaml does not match. Check docker ps for the exact name and confirm the :ro socket mount is present.
Icons are broken squares. The icon name is misspelled or that app is not in the dashboard-icons set. Browse the icon list, or point icon at a full URL or a local file under config/icons.
Caddy cannot issue a certificate. DNS has not propagated, or your provider firewall blocks 80/443 upstream of the VPS. Confirm both with dig and a port check.
Going Further
- Add per-group weather, calendar, or Glances widgets to turn the dashboard into a real morning overview.
- Wire in Uptime Kuma so each tile turns red the moment a service goes down.
- Point widgets at your media, git, and monitoring stacks to see unread counts, build status, and disk usage without opening a single app.
- Run Homepage on your private tailnet as the front door to everything you self-host, IP-restricted or SSO-gated.
That is the whole build. A tiny container, five YAML files, and fifteen minutes turn a chaotic bookmarks bar into a single, fast, self-hosted command center for your VPS.
Need a VPS to run your dashboard and everything it points at? Our Linux plans include fast NVMe storage, IPv6, and snapshots out of the box. See the options.