Self-Host Portainer on a VPS to Manage Docker Containers
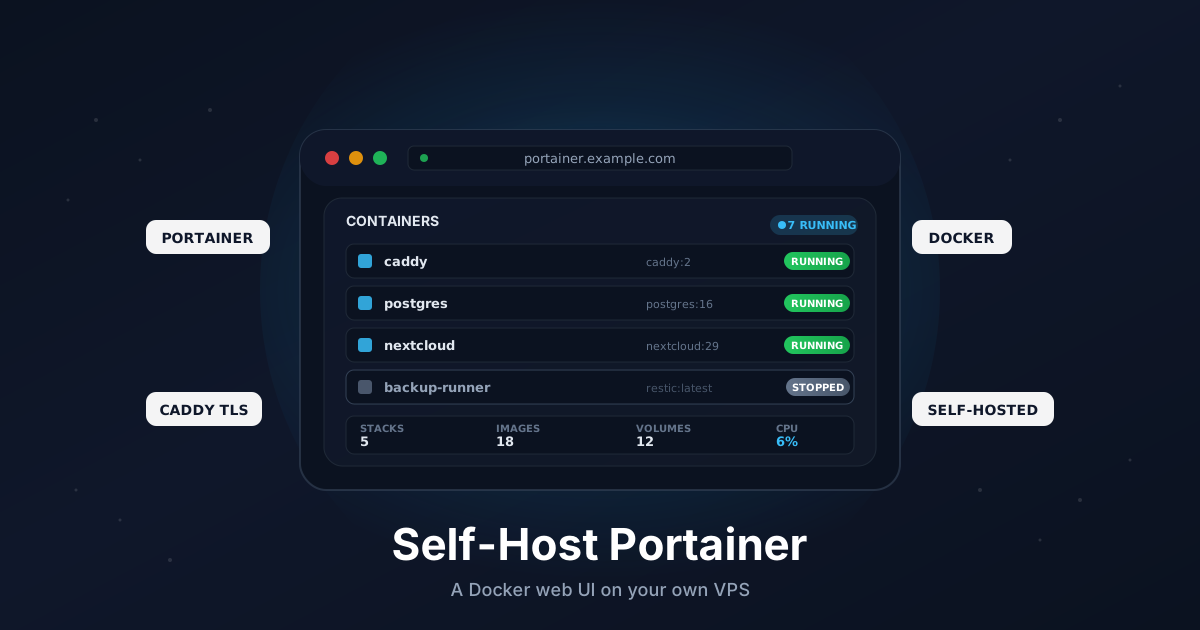
Once you have more than a couple of containers running on a VPS, docker ps in a cramped SSH window stops being fun. You forget which volume belongs to which service, you paste the wrong docker logs command, and restarting a stuck container means squinting at container IDs. A web UI that lists every container, stack, image, and volume - with live logs and a restart button next to each one - turns that chaos into a dashboard.
Portainer is the most popular self-hosted Docker management UI. The Community Edition is free and open source, runs as a single container, and gives you a full graphical view of your Docker host: start/stop/restart, live console access into any container, log streaming, image pulls, volume management, and Compose-style "stacks" you can deploy from the browser.
This guide sets it up the right way on a single VPS: Docker, a reverse proxy with automatic HTTPS, the initial-admin gotcha that trips up almost everyone, the security implications of the Docker socket, and backups.
TL;DR
- Install Docker and Docker Compose on a fresh VPS
- Point a subdomain like
portainer.example.comat your server - Run Portainer and Caddy from one
docker-compose.yml - Create the admin account immediately - Portainer locks setup after a few minutes
- Deploy your other apps as Portainer "stacks" from the web UI
- Lock the admin panel behind a VPN or an IP allowlist
- Back up the
portainer_datavolume daily
Total time: about 15 minutes.
What You Need
- A VPS with at least 512 MB RAM running Ubuntu 22.04 or 24.04
- A domain you can add DNS records to
- Ports
80and443open to the internet (Let's Encrypt needs them) - Root or sudo access
Portainer itself is tiny - it idles around 40 MB of RAM. It manages your containers; it does not run them inside itself, so it adds almost no overhead to the host.
Step 1: Point a Subdomain at Your VPS
In your DNS provider, add an A record:
portainer.example.com → YOUR_VPS_IPV4
Add an AAAA record too if you use IPv6. Verify it resolves before going further:
dig +short portainer.example.com
DNS has to resolve first, or Caddy can't complete the Let's Encrypt challenge.
Step 2: Install Docker and Docker Compose
On a fresh Ubuntu box:
sudo apt update
sudo apt install -y ca-certificates curl

sudo install -m 0755 -d /etc/apt/keyrings
sudo curl -fsSL https://download.docker.com/linux/ubuntu/gpg \
  -o /etc/apt/keyrings/docker.asc
sudo chmod a+r /etc/apt/keyrings/docker.asc

echo "deb [arch=$(dpkg --print-architecture) signed-by=/etc/apt/keyrings/docker.asc] \
  https://download.docker.com/linux/ubuntu $(. /etc/os-release && echo $VERSION_CODENAME) stable" | \
  sudo tee /etc/apt/sources.list.d/docker.list > /dev/null

sudo apt update
sudo apt install -y docker-ce docker-ce-cli containerd.io docker-buildx-plugin docker-compose-plugin
Verify:
docker --version
docker compose version
Step 3: Open the Firewall
If you use UFW:
sudo ufw allow 22/tcp
sudo ufw allow 80/tcp
sudo ufw allow 443/tcp
sudo ufw enable
Caddy needs 80 for the ACME HTTP challenge and 443 for HTTPS. Do not open Portainer's own ports (9000, 9443) to the internet - the reverse proxy handles all external traffic.
Step 4: Create the Project Directory
sudo mkdir -p /opt/portainer
cd /opt/portainer
sudo mkdir -p caddy-data caddy-config
Portainer's own state lives in a named Docker volume (portainer_data), which we'll define in the Compose file. The Caddy directories hold your TLS certificates.
Step 5: Write the Compose File
Create /opt/portainer/docker-compose.yml:
services:
  portainer:
    image: portainer/portainer-ce:lts
    container_name: portainer
    restart: unless-stopped
    command: -H unix:///var/run/docker.sock
    volumes:
      - /var/run/docker.sock:/var/run/docker.sock:ro
      - portainer_data:/data
    networks:
      - portainer-net

  caddy:
    image: caddy:2
    container_name: portainer-caddy
    restart: unless-stopped
    ports:
      - "80:80"
      - "443:443"
    volumes:
      - ./Caddyfile:/etc/caddy/Caddyfile:ro
      - ./caddy-data:/data
      - ./caddy-config:/config
    networks:
      - portainer-net

volumes:
  portainer_data:

networks:
  portainer-net:
A few notes:
- The
docker.sockmount is what lets Portainer see and control Docker. We mount it read-only (:ro) - Portainer works fine that way for the vast majority of operations, and it's a meaningful safety reduction. If you later need features that write to the socket in ways the read-only mount blocks, you can drop the:ro, but start locked down. portainer_dataholds your users, settings, and stack definitions. Back it up.- Portainer's ports
9000and9443stay internal. Caddy reaches Portainer over the Docker network on port9000(plain HTTP), then terminates TLS itself with a real Let's Encrypt certificate.
Step 6: Write the Caddyfile
Create /opt/portainer/Caddyfile:
portainer.example.com {
    encode zstd gzip

    reverse_proxy portainer:9000
}
That's the whole file. Caddy requests a Let's Encrypt certificate the first time it starts.
9443. That is Portainer's own self-signed HTTPS endpoint, and putting Caddy's real certificate in front of a self-signed backend causes confusing TLS errors. Proxy to the plain HTTP port 9000 and let Caddy handle certificates.
Step 7: Start the Stack
cd /opt/portainer
sudo docker compose up -d
sudo docker compose logs -f
Watch the Caddy logs until the certificate is issued, then open https://portainer.example.com right away.
sudo docker restart portainer, then reload the page and create the admin immediately. Have your password manager open before you visit the page.
On first load you'll be asked to create the administrator account. Pick a username and a strong password (12+ characters). There is no public registration - this is the only way in.
After that, choose Get Started to manage the local Docker environment (the socket you mounted). Portainer drops you on the dashboard showing your host's containers, images, volumes, and networks.
Step 8: Take the Tour
The left sidebar is the whole product:
- Containers - the list you'll live in. Each row has start/stop/restart/kill/remove buttons, a live Logs view, a Console (exec a shell into any container), and a Stats graph for CPU and memory.
- Stacks - Portainer's name for a
docker-compose.yml. You can paste Compose YAML directly into the browser and deploy it, no SSH required. - Images - pull, prune, and inspect images.
- Volumes and Networks - create, browse, and clean up.
- Templates - one-click app templates (a curated catalog plus any you define yourself).
Anything you were doing with docker and docker compose on the command line now has a button.
Step 9: Deploy an App as a Stack
This is where Portainer earns its keep. Instead of SSHing in to run Compose, you deploy from the browser and Portainer keeps the definition on file.
Go to Stacks, then Add stack. Give it a name like whoami, choose the Web editor, and paste a Compose file:
services:
  whoami:
    image: traefik/whoami
    container_name: whoami
    restart: unless-stopped
    networks:
      - portainer-net

networks:
  portainer-net:
    external: true
Click Deploy the stack. Portainer pulls the image, starts the container, and now it shows up in the stack list where you can update, restart, or tear it down with one click.
To expose a new app to the internet, add another site block to your Caddyfile and reload Caddy:
portainer.example.com {
    encode zstd gzip
    reverse_proxy portainer:9000
}

whoami.example.com {
    encode zstd gzip
    reverse_proxy whoami:80
}
cd /opt/portainer
sudo docker compose restart caddy
Because both the Caddy container and your stack containers share the external portainer-net network, Caddy can reach any of them by container name. That's the pattern for hosting a whole fleet of apps behind one reverse proxy.
Step 10: Understand What the Socket Grants
This is the most important section in the guide, so don't skim it.
Mounting /var/run/docker.sock into Portainer gives Portainer the ability to control the Docker daemon. On a normal Linux host, the Docker daemon runs as root, and anyone who can talk to the socket can start a container that mounts the host's root filesystem - which is effectively root on the host. Portainer's console and stack features use exactly this power on purpose; it's the whole point.
The practical consequences:
- Anyone who logs into Portainer can take over your VPS. Treat the Portainer admin password like your root password, because it is equivalent.
- The read-only socket mount helps but is not a sandbox. It blocks some write operations but a determined user with UI access still has enormous reach. It is a defense-in-depth measure, not an isolation boundary.
- Never expose the Portainer UI to the open internet without protection. A public login page controlling your Docker daemon is a target.
Step 11: Lock Down Access
Given the stakes, spend five minutes here.
Restrict the whole site to your IPs. If you have a static office IP or a VPN exit, gate the entire hostname in Caddy:
portainer.example.com {
    encode zstd gzip

    @blocked not remote_ip 203.0.113.10 198.51.100.0/24
    respond @blocked 403

    reverse_proxy portainer:9000
}
Swap in your own IPs and CIDRs. Everyone else gets a flat 403.
Put it behind a VPN instead. The cleanest option is to not expose Portainer publicly at all. If you run Tailscale or WireGuard, bind Portainer to the private interface and reach it over the tunnel. No public login page, no brute-force surface.
Enable internal authentication hardening. In Portainer, go to Settings, then Authentication. You can raise the minimum password length and, on the account itself, turn on the built-in TOTP-based two-factor auth under your user profile. Enable it.
Create least-privilege users. Don't hand out the admin account. Under Users, create standard users and use Environments and Teams with role-based access so a teammate who only needs to restart one app can't nuke the host.
Step 12: Back Up Portainer's Data
Everything Portainer knows - users, settings, stack definitions, registry credentials - lives in the portainer_data volume. The containers it manages have their own volumes; this one is just Portainer's brain. It's small but annoying to rebuild.
Create /usr/local/bin/portainer-backup.sh:
#!/usr/bin/env bash
set -euo pipefail

BACKUP_DIR="/var/backups/portainer"
DATE="$(date +%F)"
mkdir -p "$BACKUP_DIR"

docker run --rm \
  -v portainer_portainer_data:/data:ro \
  -v "$BACKUP_DIR":/backup \
  alpine tar -czf "/backup/portainer-$DATE.tar.gz" -C /data .

find "$BACKUP_DIR" -name "portainer-*.tar.gz" -mtime +14 -delete
The volume is named portainer_portainer_data because Docker Compose prefixes the volume with the project directory name (portainer). Confirm the exact name with docker volume ls and adjust if yours differs.
Make it executable and schedule it daily:
sudo chmod +x /usr/local/bin/portainer-backup.sh
echo "25 3 * * * root /usr/local/bin/portainer-backup.sh" | \
  sudo tee /etc/cron.d/portainer-backup
For off-site safety, push /var/backups/portainer to S3 or Backblaze B2 with rclone on the same schedule. Portainer also has a built-in backup under Settings, then Backup Portainer, which produces a downloadable, optionally password-protected archive - handy for a manual snapshot before an upgrade.
Step 13: Upgrade Safely
Portainer's LTS line is stable and upgrades are boring:
cd /opt/portainer
sudo docker compose pull
sudo docker compose up -d
Take a backup first (either the script above or the in-app backup). Because the data lives in a named volume, pulling a new image and recreating the container keeps all your settings. If a release misbehaves, pin a known-good version in the Compose file:
image: portainer/portainer-ce:2.21.4
and redeploy. Portainer does not automatically downgrade its database, so don't jump backward across major versions without reading the release notes.
Troubleshooting
"Your Portainer instance timed out for security purposes." You took too long to create the first admin. Run sudo docker restart portainer and reload the page immediately.
Caddy can't issue a certificate. DNS hasn't propagated, or your provider firewall blocks 80/443 upstream of the VPS. Confirm with dig and check the provider's firewall panel.
TLS handshake errors in Caddy's logs. You proxied to 9443 (Portainer's self-signed HTTPS) instead of 9000. Fix the Caddyfile and restart Caddy.
A stack container can't be reached by Caddy. The stack isn't on the shared network. Add the external portainer-net network to the service, or use the same network Caddy is on.
Console/exec into a container fails. Some minimal images (like scratch-based ones) have no shell. Try /bin/sh instead of /bin/bash, or accept that distroless containers simply have no interactive shell.
Going Further
- Manage multiple hosts from one Portainer. Install the lightweight Portainer Agent on your other VPSes and add them as Environments to control your whole fleet from a single dashboard.
- Add a private registry. Under Registries, connect Docker Hub, GHCR, or a self-hosted registry so stacks can pull your private images.
- Pair it with monitoring. Run Uptime Kuma or Beszel alongside Portainer so you see health and history, not just current state.
- Use GitOps stacks. Point a stack at a Git repository and let Portainer redeploy automatically when you push - a simple, free deployment pipeline.
That's the whole setup. A small VPS, one Compose file, and fifteen minutes give you a proper Docker control panel - just remember that the panel holds the keys to the entire host, and protect it accordingly.
Need a VPS to run your Docker stack? Our Linux plans include fast NVMe storage, IPv6, and snapshots out of the box. See the options.