Encrypted VPS Backups to S3 with Restic
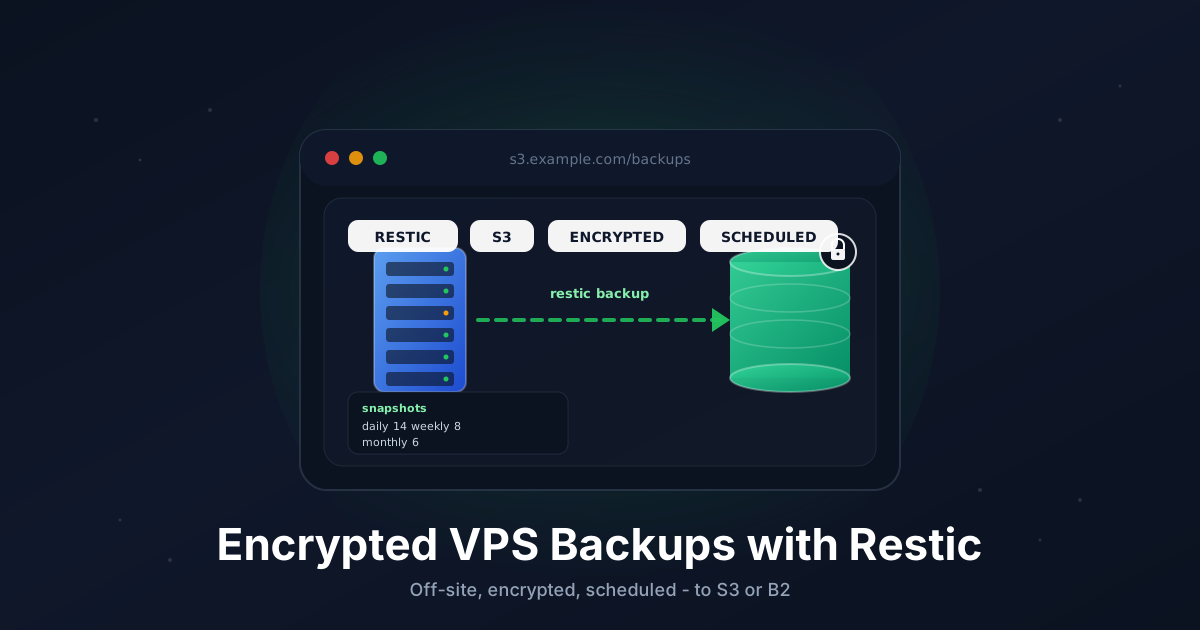
Backups are the boring part of running a VPS that nobody thinks about until the morning the disk dies. The only backup worth having is one that runs on a schedule, lives somewhere other than the server it came from, and is encrypted so the storage provider can't read it.
Restic checks every box. It's a single static binary, written in Go, that does deduplicated, encrypted, incremental backups to almost any S3-compatible object store. After the first run, every following backup only uploads the chunks that actually changed.
This guide walks through a production setup: install Restic, pick a backend, write a backup script, schedule it with a systemd timer, set retention, and ping Healthchecks.io so you know when something quietly broke.
TL;DR
- Install Restic from the distro package or the upstream binary
- Pick an S3-compatible backend (B2, AWS S3, MinIO, Wasabi)
- Generate a long random repository password and save it offline
restic initthe repository, then run a first manual backup- Drop a
/usr/local/bin/backup.shscript that backs up, forgets, prunes, and pings - Run it nightly with a systemd timer
- Test a restore at least once a quarter
Total time: about 20 minutes for the first run.
What You Need
- A VPS running a recent Linux (Ubuntu 22.04/24.04, Debian 12, Rocky 9, etc.)
- An account on an S3-compatible object store (Backblaze B2, AWS S3, Wasabi, or your own MinIO)
- Root or sudo access on the VPS
- A directory or two on the VPS that's worth backing up (
/etc,/var/lib,/home,/opt)
You do not need a lot of RAM. Restic is happy on a 1 GB box.
Step 1: Pick a Backend
Restic talks to several object stores. Any of these work:
- Backblaze B2 is the cheapest for most home and small-business use cases. About $6/TB/month, no egress fee inside the Cloudflare Bandwidth Alliance, and a generous free tier.
- AWS S3 is the reference. Most expensive at small volumes, but ubiquitous if you're already in AWS.
- Wasabi has flat per-TB pricing with no egress fee at all. Good when you expect to restore.
- MinIO runs on your own hardware. Useful if you have a second VPS or a homelab box for off-site duty.
The Restic command line is identical for all of them. Only the repository URL and a couple of environment variables change.
For this tutorial we'll use Backblaze B2 as the primary example and show the AWS S3 form alongside.
Step 2: Create the Bucket and Credentials
In your provider dashboard, create a new bucket. Use a unique name like vps-backups-prod-acme. Keep it private (default).
Then create application credentials scoped to that bucket only:
- B2: Account → Application Keys → Add a new key. Restrict to the bucket you just made. Save the
keyIDandapplicationKey. - AWS S3: IAM → Create user → Attach a policy that grants
s3:GetObject,s3:PutObject,s3:DeleteObject, ands3:ListBucketonarn:aws:s3:::vps-backups-prod-acme/*and the bucket itself. Save the access key and secret. - Wasabi/MinIO: create an access key + secret pair scoped to the bucket.
Never reuse account-wide credentials. Scope them per server, per bucket.
Step 3: Install Restic
On Debian/Ubuntu:
sudo apt update
sudo apt install -y restic
On Rocky/Alma/RHEL:
sudo dnf install -y epel-release
sudo dnf install -y restic
Distro packages tend to lag a couple of releases. To install the latest upstream binary instead:
RESTIC_VERSION="0.17.3"
curl -L "https://github.com/restic/restic/releases/download/v${RESTIC_VERSION}/restic_${RESTIC_VERSION}_linux_amd64.bz2" \
  | bunzip2 > /usr/local/bin/restic
sudo chmod +x /usr/local/bin/restic
Verify:
restic version
Step 4: Generate a Strong Repository Password
The repo password is the master key for every backup. Make it long and random:
openssl rand -base64 48
Copy the output. Paste it into your password manager right now, with the bucket name and the server hostname in the title so future-you can find it.
Step 5: Write the Credentials File
Restic reads its credentials from environment variables. We'll keep them in a single file that only root can read, and source it from the backup script and the systemd unit.
Create /etc/restic/backup.env:
sudo mkdir -p /etc/restic
sudo nano /etc/restic/backup.env
For Backblaze B2:
# Backend
RESTIC_REPOSITORY=b2:vps-backups-prod-acme:/srv01
B2_ACCOUNT_ID=YOUR_B2_KEY_ID
B2_ACCOUNT_KEY=YOUR_B2_APPLICATION_KEY

# Encryption
RESTIC_PASSWORD=PASTE_THE_LONG_RANDOM_PASSWORD_HERE

# Healthchecks.io (optional)
HEALTHCHECK_URL=https://hc-ping.com/REPLACE_WITH_YOUR_UUID
For AWS S3, swap the first three lines:
RESTIC_REPOSITORY=s3:s3.amazonaws.com/vps-backups-prod-acme/srv01
AWS_ACCESS_KEY_ID=YOUR_ACCESS_KEY
AWS_SECRET_ACCESS_KEY=YOUR_SECRET_KEY
AWS_DEFAULT_REGION=eu-central-1
For Wasabi (note the regional endpoint):
RESTIC_REPOSITORY=s3:s3.eu-central-1.wasabisys.com/vps-backups-prod-acme/srv01
AWS_ACCESS_KEY_ID=YOUR_WASABI_KEY
AWS_SECRET_ACCESS_KEY=YOUR_WASABI_SECRET
For a self-hosted MinIO:
RESTIC_REPOSITORY=s3:https://minio.example.com/vps-backups-prod-acme/srv01
AWS_ACCESS_KEY_ID=YOUR_MINIO_KEY
AWS_SECRET_ACCESS_KEY=YOUR_MINIO_SECRET
The :/srv01 (B2) or /srv01 (S3) suffix lets multiple servers share the same bucket without colliding. One folder per host.
Lock the file down:
sudo chown root:root /etc/restic/backup.env
sudo chmod 600 /etc/restic/backup.env
Step 6: Initialize the Repository
Source the env file and create the repo:
set -a; source /etc/restic/backup.env; set +a
restic init
You should see:
created restic repository abc12345 at b2:vps-backups-prod-acme:/srv01
If you see Fatal: create key in repository, the credentials don't have write permission on the bucket. Re-check the application key scope.
Step 7: Run a First Backup
Let's back up /etc, /var/lib, /home, and /opt. Adjust to taste.
restic backup \
  --tag manual \
  --exclude-caches \
  --exclude '/var/lib/docker/overlay2' \
  /etc /var/lib /home /opt
The first run uploads everything. Expect a few minutes per gigabyte on a typical VPS link. Following runs only send changed chunks and finish in seconds.
Confirm it landed:
restic snapshots
You should see one snapshot tagged manual.
Step 8: Write the Backup Script
Create /usr/local/bin/backup.sh:
sudo nano /usr/local/bin/backup.sh
Paste:
#!/usr/bin/env bash
set -euo pipefail

# Load credentials and repo password
set -a
source /etc/restic/backup.env
set +a

BACKUP_PATHS=(/etc /var/lib /home /opt)

EXCLUDES=(
  --exclude-caches
  --exclude '/var/lib/docker/overlay2'
  --exclude '/var/lib/docker/containers/*/*-json.log'
  --exclude '/var/cache'
  --exclude '/var/tmp'
  --exclude '*.tmp'
)

ping_healthcheck() {
  local endpoint="${1:-}"
  if [[ -n "${HEALTHCHECK_URL:-}" ]]; then
    curl -fsS -m 10 --retry 3 "${HEALTHCHECK_URL}${endpoint}" > /dev/null || true
  fi
}

on_failure() {
  ping_healthcheck "/fail"
  exit 1
}
trap on_failure ERR

ping_healthcheck "/start"

restic backup \
  --tag scheduled \
  --host "$(hostname -s)" \
  "${EXCLUDES[@]}" \
  "${BACKUP_PATHS[@]}"

restic forget \
  --prune \
  --keep-daily 14 \
  --keep-weekly 8 \
  --keep-monthly 6 \
  --keep-yearly 2

restic check --read-data-subset=1%

ping_healthcheck ""
A few things worth noting:
set -euo pipefailaborts on any error and on undefined variables.- The
trap on_failure ERRline pings Healthchecks with/failif anything before the success ping crashes. forget --pruneruns in the same step. That keeps the repo lean without a second cron job.restic check --read-data-subset=1%verifies a small random slice of the repository each run. Once a month it ends up checking everything. If a B2/S3 object ever rots, you find out within weeks instead of when you try to restore.ping_healthcheck ""(no path) sends the success ping.
Make it executable:
sudo chmod +x /usr/local/bin/backup.sh
Test it:
sudo /usr/local/bin/backup.sh
It should finish without errors and a green check should appear in your Healthchecks dashboard.
Step 9: Schedule with a systemd Timer
Cron works, but systemd timers are easier to reason about: you get journal logs, you can run them ad hoc with systemctl start, and randomized delays come for free.
Create /etc/systemd/system/restic-backup.service:
[Unit]
Description=Restic backup to S3
Wants=network-online.target
After=network-online.target

[Service]
Type=oneshot
Nice=10
IOSchedulingClass=best-effort
IOSchedulingPriority=7
EnvironmentFile=/etc/restic/backup.env
ExecStart=/usr/local/bin/backup.sh
Create /etc/systemd/system/restic-backup.timer:
[Unit]
Description=Run Restic backup nightly

[Timer]
OnCalendar=*-*-* 03:15:00
RandomizedDelaySec=30m
Persistent=true
Unit=restic-backup.service

[Install]
WantedBy=timers.target
Enable and start:
sudo systemctl daemon-reload
sudo systemctl enable --now restic-backup.timer
Verify:
systemctl list-timers restic-backup.timer
journalctl -u restic-backup.service --since "1 hour ago"
Persistent=true means a missed run (server was off) fires on the next boot. RandomizedDelaySec=30m spreads load if you have multiple VPS boxes hitting the same bucket.
Cron alternative
If your distro doesn't ship systemd, drop this in /etc/cron.d/restic-backup:
15 3 * * * root /usr/local/bin/backup.sh >> /var/log/restic-backup.log 2>&1
Step 10: Set Up Healthchecks.io
Healthchecks.io is a dead-man's-switch service. It expects a ping every N hours; if one is missed, you get an email/Slack/Discord alert. The free tier is enough for a handful of backup jobs.
Create a check named "VPS srv01 backup", set the schedule to "every day", and copy the unique ping URL into HEALTHCHECK_URL in /etc/restic/backup.env.
The script pings three different endpoints:
/startwhen the run begins (so you can see how long it took)/failif anything errors- the bare URL on success
Self-hosting alternative: run Healthchecks.io yourself, or use Uptime Kuma's push-monitor mode and set HEALTHCHECK_URL to that endpoint instead.
Step 11: Test a Restore
A backup you've never restored is a hope, not a backup. Test it before you need it.
List snapshots:
restic snapshots
Mount the repo as a FUSE filesystem and browse it:
sudo mkdir -p /mnt/restic
sudo restic mount /mnt/restic &
ls /mnt/restic/snapshots/latest/
Restore a single file:
restic restore latest --target /tmp/restore-test --include /etc/hostname
cat /tmp/restore-test/etc/hostname
Restore a full directory:
restic restore latest --target /tmp/full-restore --include /home
Disaster-recovery drill: spin up a second VPS, install Restic, copy /etc/restic/backup.env over a secure channel, run restic snapshots, and restore. If you can rebuild the box in under an hour, your backups work.
Troubleshooting
unable to create lock in backend: repository is already locked. A previous run died without releasing its lock. List locks with restic list locks and clear stale ones with restic unlock. If two backup jobs really are running in parallel, give them separate paths inside the bucket (/srv01-fast and /srv01-slow).
The first backup is taking forever. Restic chunks and uploads everything on day one. A few hundred GB on a 100 Mbps link is a long evening. Subsequent runs are tiny. Use --limit-upload 5000 (KB/s) to cap bandwidth if it saturates the link, or run the first backup off-hours.
Fatal: unable to open config file: server response unexpected. Almost always a wrong S3 endpoint. Wasabi's URL includes the region (s3.eu-central-1.wasabisys.com), Backblaze uses b2:bucket:/path not s3:, MinIO needs the full https:// prefix. Compare with the matrix in Step 5.
Fatal: wrong password or no key found. You typed the wrong RESTIC_PASSWORD, or the env file isn't being sourced. Check with sudo systemctl cat restic-backup.service to confirm the EnvironmentFile= line.
Repository is growing faster than expected. restic forget --prune only frees space for snapshots that fall outside your retention window. If you recently shortened the retention, run restic forget --prune once manually, then check size with restic stats --mode raw-data.
Going Further
- Cross-region copy. Once a week, replicate the repo to a second bucket in another region with
restic copy. Two completely separate providers (B2 + Wasabi) is a real disaster plan. - Automated restore tests. Add a second systemd timer that fires weekly, restores a small canary file from the latest snapshot to
/tmp, and pings a separate Healthchecks check on success. Catches "backups run but are corrupt" before the real failure. - Encrypted offsite second copy. If you have a homelab NAS, run a tiny MinIO instance on it and
restic copythere nightly. Same encryption, separate provider, separate continent. - Pre/post hooks. Wrap database dumps inside the script (e.g.
pg_dumpall | gzip > /var/backups/postgres.sql.gz) before therestic backupstep, so application data is captured at a consistent point in time. - Read-only restore credentials. Generate a second set of S3 keys with read-only permission on the bucket. Use those on workstations when restoring, so a compromised laptop can't wipe the repo.
Restic gets a lot of small things right. Encryption is on by default, deduplication keeps the bill flat, and the same binary speaks to every major object store. Combine it with a healthcheck and a quarterly restore test and you have a backup setup you can actually trust.
Looking for a VPS to host the source side of these backups? Our Linux plans come with NVMe storage, IPv6, and snapshots out of the box. See the options.