Self-Host Beszel on a VPS for Lightweight Server Monitoring
If you only run a handful of servers, Prometheus and Grafana can feel like wearing a suit to mow the lawn. You wait ten minutes for scrapes, dig through PromQL to read CPU load, and burn 500 MB of RAM just to learn that disk is at 80 percent.
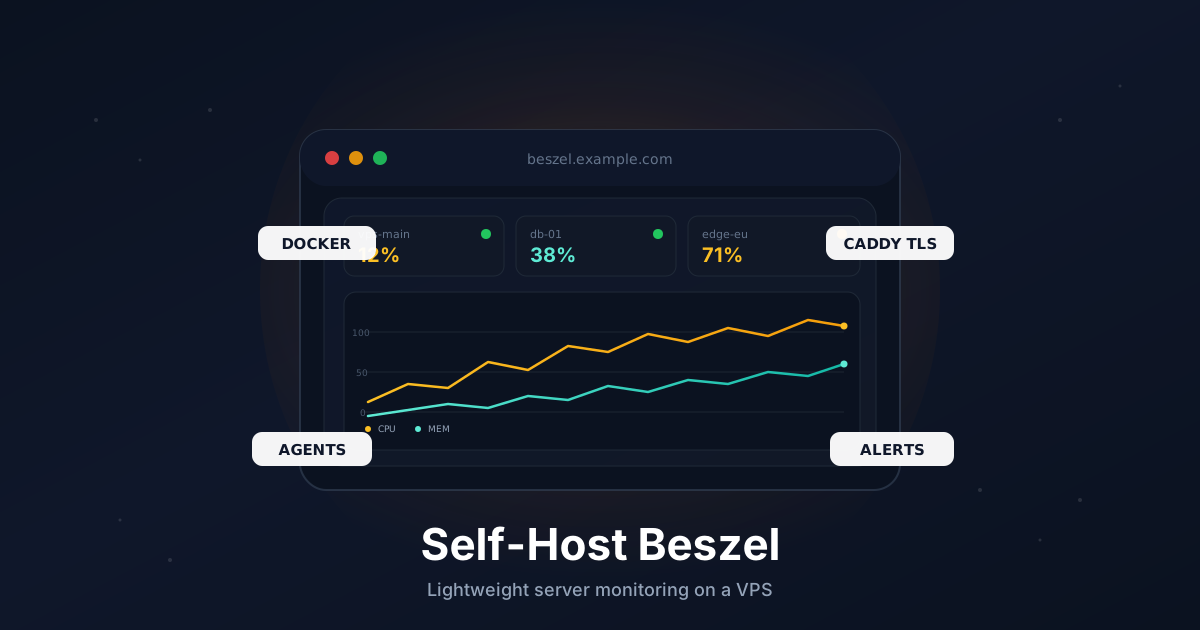
Beszel is the small alternative. It's a hub-and-agent monitor written in Go: a single container on a VPS speaks to lightweight agents on every server you own and gives you a clean web UI with charts, history, and alerts. The hub idles at around 30 MB of RAM, agents at around 10 MB. There is no time-series database to tune, no exporter to wire up, and no query language to learn.
This guide sets it up end to end: Docker, Caddy with automatic HTTPS, the hub on a public subdomain, an agent on the same VPS, additional agents on other servers, and notifications.
TL;DR
- Install Docker and Docker Compose on a fresh VPS
- Point a subdomain like
beszel.example.comat your server - Run the Beszel hub and Caddy with one
docker-compose.yml - Create the admin account on first visit
- Install the Beszel agent on the same VPS and any other servers you own
- Paste the hub's public key into each agent and register the system in the UI
- Wire alerts to ntfy, Discord, Slack, Telegram, or email
Total time: around 15 minutes.
What You Need
- A VPS with at least 512 MB RAM running Ubuntu 22.04 or 24.04
- A domain you can add DNS records to
- Ports
80and443open to the internet (Let's Encrypt requires this) - Root or sudo access
- One or more servers you want to monitor
Beszel is light enough to run alongside almost anything. If you already host Vaultwarden, Uptime Kuma, or n8n on a small box, you can put the hub on the same VPS without trouble.
Step 1: Point a Subdomain at Your VPS
In your DNS provider, add an A record:
beszel.example.com → YOUR_VPS_IPV4
Add an AAAA record for IPv6 if you use it. Verify it resolves:
dig +short beszel.example.com
DNS has to propagate before Caddy can issue a Let's Encrypt certificate.
Step 2: Install Docker and Docker Compose
On a fresh Ubuntu host:
sudo apt update
sudo apt install -y ca-certificates curl

sudo install -m 0755 -d /etc/apt/keyrings
sudo curl -fsSL https://download.docker.com/linux/ubuntu/gpg \
  -o /etc/apt/keyrings/docker.asc
sudo chmod a+r /etc/apt/keyrings/docker.asc

echo "deb [arch=$(dpkg --print-architecture) signed-by=/etc/apt/keyrings/docker.asc] \
  https://download.docker.com/linux/ubuntu $(. /etc/os-release && echo $VERSION_CODENAME) stable" | \
  sudo tee /etc/apt/sources.list.d/docker.list > /dev/null

sudo apt update
sudo apt install -y docker-ce docker-ce-cli containerd.io docker-buildx-plugin docker-compose-plugin
Verify:
docker --version
docker compose version
Step 3: Open the Firewall
If you use UFW:
sudo ufw allow 22/tcp
sudo ufw allow 80/tcp
sudo ufw allow 443/tcp
sudo ufw enable
The hub itself stays on the internal Docker network. Caddy handles all public traffic.
Step 4: Create the Project Directory
sudo mkdir -p /opt/beszel
cd /opt/beszel
sudo mkdir -p beszel_data caddy-data caddy-config
All persistent state for the hub lives in /opt/beszel/beszel_data. That single directory is the only thing you need to back up.
Step 5: Write the Compose File
Create /opt/beszel/docker-compose.yml:
services:
  beszel:
    image: henrygd/beszel:latest
    container_name: beszel
    restart: unless-stopped
    volumes:
      - ./beszel_data:/beszel_data
    networks:
      - beszelnet

  beszel-agent:
    image: henrygd/beszel-agent:latest
    container_name: beszel-agent
    restart: unless-stopped
    network_mode: host
    volumes:
      - ./beszel_agent_data:/var/lib/beszel-agent
      - /var/run/docker.sock:/var/run/docker.sock:ro
    environment:
      LISTEN: 45876
      KEY: "REPLACE_WITH_HUB_PUBLIC_KEY"

  caddy:
    image: caddy:2
    container_name: caddy
    restart: unless-stopped
    ports:
      - "80:80"
      - "443:443"
    volumes:
      - ./Caddyfile:/etc/caddy/Caddyfile:ro
      - ./caddy-data:/data
      - ./caddy-config:/config
    networks:
      - beszelnet

networks:
  beszelnet:
A few notes:
- The hub doesn't publish a port. Caddy reaches it over the internal
beszelnetnetwork on port8090. - The agent uses
network_mode: hostso it can read accurate host network statistics. It binds to127.0.0.1:45876from the hub's point of view because both run on the same machine. - The Docker socket is mounted read-only so the agent can report per-container stats.
- We'll replace
REPLACE_WITH_HUB_PUBLIC_KEYafter the hub starts.
Step 6: Write the Caddyfile
Create /opt/beszel/Caddyfile:
beszel.example.com {
    encode zstd gzip

    reverse_proxy beszel:8090
}
Caddy automatically requests a certificate from Let's Encrypt on first boot. No further configuration needed.
Step 7: Start the Hub
For the very first launch, comment out the beszel-agent service in the compose file. We need the hub to generate its keypair before we can configure the agent.
cd /opt/beszel
sudo docker compose up -d beszel caddy
sudo docker compose logs -f beszel
Watch the logs until you see Server started. Then open https://beszel.example.com in a browser. You should see the Beszel onboarding screen.
Create your first user. This account becomes the admin. Pick a strong password and store it in your password manager - there is no recovery flow if you lose it.
Step 8: Copy the Hub Public Key
The hub signs every connection to an agent with an ed25519 key it created on first boot. You'll paste the public half into every agent you ever add.
In the web UI, click + Add System. The dialog shows a Public Key block. Copy the full single line starting with ssh-ed25519 AAAA....
You can also pull it from the container without opening the UI:
sudo cat /opt/beszel/beszel_data/id_ed25519.pub
Keep this value handy. It is not secret, but you'll need it on every machine.
Step 9: Bring the Local Agent Online
Edit /opt/beszel/docker-compose.yml, paste the public key into the KEY environment variable, and re-enable the beszel-agent service:
beszel-agent:
  image: henrygd/beszel-agent:latest
  container_name: beszel-agent
  restart: unless-stopped
  network_mode: host
  volumes:
    - ./beszel_agent_data:/var/lib/beszel-agent
    - /var/run/docker.sock:/var/run/docker.sock:ro
  environment:
    LISTEN: 45876
    KEY: "ssh-ed25519 AAAA...your-actual-key... beszel"
Start it:
sudo docker compose up -d beszel-agent
sudo docker compose logs -f beszel-agent
You should see Listening on :45876. Now go back to the Add System dialog in the UI:
- Name:
vps-main(or whatever you like) - Host / IP:
127.0.0.1 - Port:
45876
Save. Within a few seconds the system flips to green, and you'll see CPU, memory, disk, network, and a container list populate the dashboard.
Step 10: Add Agents on Other Servers
This is where Beszel earns its keep. Every other Linux box you own gets the same tiny agent. There are two clean installation paths.
Option A: Native Binary (Recommended)
The official install script drops a beszel-agent binary and a systemd unit. Run it on the target server:
curl -sL \
  "https://raw.githubusercontent.com/henrygd/beszel/main/supplemental/scripts/install-agent.sh" \
  -o install-agent.sh
chmod +x install-agent.sh
sudo ./install-agent.sh -p 45876 -k "ssh-ed25519 AAAA...your-actual-key... beszel"
The script:
- Downloads the right architecture (amd64 or arm64)
- Creates a
beszelsystem user - Writes
/etc/systemd/system/beszel-agent.service - Starts the agent and enables it on boot
Check it:
sudo systemctl status beszel-agent
sudo ss -tlnp | grep 45876
Back in the hub UI, click + Add System again and point it at this new server's IP or hostname on port 45876.
Option B: Docker on Each Agent
If a host already runs Docker, you may prefer a container. Create /opt/beszel-agent/docker-compose.yml on the target server:
services:
  beszel-agent:
    image: henrygd/beszel-agent:latest
    container_name: beszel-agent
    restart: unless-stopped
    network_mode: host
    volumes:
      - ./beszel_agent_data:/var/lib/beszel-agent
      - /var/run/docker.sock:/var/run/docker.sock:ro
    environment:
      LISTEN: 45876
      KEY: "ssh-ed25519 AAAA...your-actual-key... beszel"
Start it:
cd /opt/beszel-agent
sudo docker compose up -d
Firewall Between Hub and Agent
The hub initiates the connection, not the agent. On each agent host, allow the hub's IP (and only the hub's IP) on the agent port:
sudo ufw allow from YOUR_HUB_IP to any port 45876 proto tcp
If your servers are connected over Tailscale or WireGuard, use the tailnet/VPN IPs instead. That keeps the agent port off the public internet entirely, which is the cleanest setup.
Step 11: Wire Up Alerts
Beszel ships with built-in alerts for CPU, memory, disk, temperature, container state, and "system down." Notifications go through shoutrrr, which speaks 20+ channels.
In the UI, open Settings → Notifications and add a service URL. A few common shapes:
discord://token@id
slack://hook:token-token-token@webhook
telegram://token@telegram?chats=@channel_or_id
ntfy://ntfy.sh/your-topic
smtp://user:[email protected]:587/[email protected]&[email protected]
For ntfy.sh, the topic is anything you make up. Subscribe on your phone using the same string. Send a test from the Beszel UI before you trust it in production.
Then on each system tile, set thresholds per metric. Reasonable defaults:
- CPU: alert above 90% for 10 minutes
- Memory: alert above 90% for 5 minutes
- Disk: alert above 85% for any window
- System down: alert after 2 minutes
These are starting points. Tune them based on your workloads - a database server idling at 70 percent memory is normal; the same on a static site is a leak.
Step 12: Automate Backups
Everything Beszel knows about your fleet lives in /opt/beszel/beszel_data, including the SQLite database (PocketBase under the hood), the keypair, and your user accounts. Lose it and you start over.
Create /usr/local/bin/beszel-backup.sh:
#!/usr/bin/env bash
set -euo pipefail

BACKUP_DIR="/var/backups/beszel"
DATE="$(date +%F)"
mkdir -p "$BACKUP_DIR"

tar -czf "$BACKUP_DIR/beszel-$DATE.tar.gz" -C /opt/beszel beszel_data

find "$BACKUP_DIR" -name "beszel-*.tar.gz" -mtime +14 -delete
Make it executable and schedule it:
sudo chmod +x /usr/local/bin/beszel-backup.sh
echo "30 3 * * * root /usr/local/bin/beszel-backup.sh" | \
  sudo tee /etc/cron.d/beszel-backup
For off-site safety, pair this with restic and push the backup directory to S3 or Backblaze B2 on the same schedule.
Optional: Hide the Hub Behind a VPN
A monitoring dashboard is a juicy target. The login is rate-limited and uses PocketBase auth, but you can avoid the public attack surface entirely. Drop the public Caddy hostname, make the hub bind to a Tailscale IP, and reach it from your laptop or phone over the tailnet. The Tailscale guide walks through that pattern.
Troubleshooting
Caddy can't issue a certificate. DNS hasn't propagated or ports 80/443 are blocked. Confirm with dig and your provider's firewall.
Agent shows "down" in the UI. Either the hub can't reach the agent's IP and port (firewall) or the KEY env var doesn't match the hub's public key character-for-character. Check journalctl -u beszel-agent -n 50 on the agent.
Agent reports 0 containers. The Docker socket mount is missing or the agent is reading the wrong path. Re-add - /var/run/docker.sock:/var/run/docker.sock:ro and restart.
System metrics look wrong inside Docker. The agent needs network_mode: host to read accurate host stats. Without it you'll see only the container's view.
"Failed to authenticate" in agent logs. You pasted the private key or a partial public key. The value must be the full single line from id_ed25519.pub, including the ssh-ed25519 prefix and the trailing comment.
Going Further
- Pin image versions. Replace
:latestwith the current release tag in your compose files so an unattendeddocker compose pullcan't break the hub. - Add fail2ban. Beszel's login screen is public if you publish the hub - throttle brute-force attempts with our SSH and fail2ban hardening guide.
- Layer with Uptime Kuma. Beszel watches what's happening inside your servers; Uptime Kuma watches whether they're reachable from outside. The two complement each other.
- Graduate to Grafana + Prometheus if your fleet grows past 30-40 hosts or you need PromQL-grade querying. Our Grafana and Prometheus on a VPS guide picks up where this one ends.
That's it. One container on a VPS, one agent per server, and a clean dashboard for the lifetime of your fleet.
Need a VPS to host your monitoring stack? Our Linux plans include fast NVMe storage, IPv6, and a generous network allowance. See the options.