Self-Host Headscale on a VPS - Run Your Own Tailnet
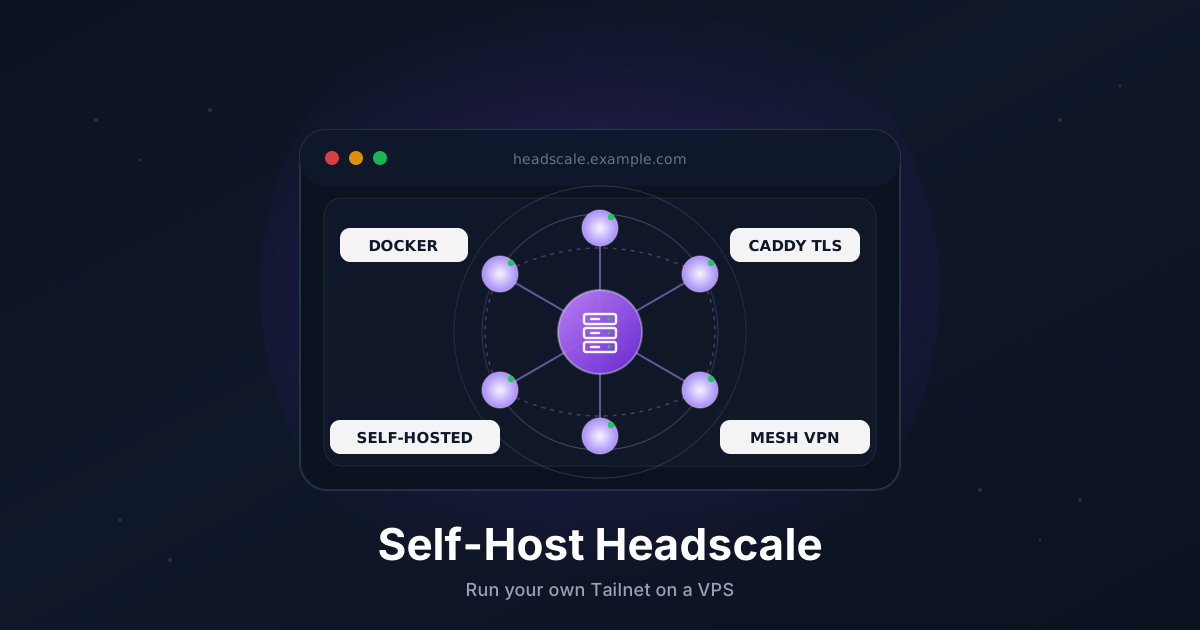
Tailscale is wonderful, but the free tier caps users and the control plane is a third party you have to trust with your network metadata. If that bothers you, or you just want to know exactly where your coordination server lives, Headscale is the answer.
Headscale is an open-source, self-hosted implementation of the Tailscale control server. The official Tailscale clients (macOS, iOS, Android, Windows, Linux) connect to it without modification, you keep all the magic - magic DNS, NAT traversal, subnet routing, exit nodes - and you stop sending node metadata to a SaaS.
This guide walks through a clean Headscale deployment on a VPS: Docker, Caddy for automatic HTTPS, a real user, a pre-auth key, a Linux node joining the tailnet, and an optional web UI for managing it all.
TL;DR
- Point a subdomain like
headscale.example.comat your VPS - Install Docker and open ports
80and443 - Run Headscale and Caddy from a single
docker-compose.yml - Create a user, generate a pre-auth key, and connect a node with
tailscale up --login-server - Add the optional
headscale-adminweb UI to manage users from a browser - Schedule a nightly backup of the SQLite database and config
Total time: around 20 minutes.
What You Need
- A VPS with at least 512 MB RAM running Ubuntu 22.04 or 24.04
- A domain you can add DNS records to
- Ports
80and443open to the internet (Let's Encrypt) - Root or sudo access
- The official Tailscale client on the device you want to join first
If you have not picked a VPS yet, anything in the entry tier is enough. Headscale itself idles around 30 MB of RAM.
When Headscale, When Tailscale
Both are great, and they share clients. Pick based on operational appetite.
- Tailscale (the SaaS) is what you want when you do not want to run anything. The free tier covers most personal use, and SSO, ACL editor, and admin UI are mature.
- Headscale is what you want when you need full control of the coordinator, no per-user limits, an air-gapped or sovereign deployment, or you simply prefer self-hosted by default.
If you are coming from plain WireGuard, see our WireGuard guide for a comparison of how the two protocols differ in shape.
Step 1: Point a Subdomain at Your VPS
In your DNS provider, add an A record:
headscale.example.com → YOUR_VPS_IPV4
Add an AAAA record too if you have IPv6. Verify before continuing:
dig +short headscale.example.com
The output must match the VPS IP. Caddy needs a working DNS record before it can request a certificate.
Step 2: Install Docker and Docker Compose
On a fresh Ubuntu box:
sudo apt update
sudo apt install -y ca-certificates curl

sudo install -m 0755 -d /etc/apt/keyrings
sudo curl -fsSL https://download.docker.com/linux/ubuntu/gpg \
  -o /etc/apt/keyrings/docker.asc
sudo chmod a+r /etc/apt/keyrings/docker.asc

echo "deb [arch=$(dpkg --print-architecture) signed-by=/etc/apt/keyrings/docker.asc] \
  https://download.docker.com/linux/ubuntu $(. /etc/os-release && echo $VERSION_CODENAME) stable" | \
  sudo tee /etc/apt/sources.list.d/docker.list > /dev/null

sudo apt update
sudo apt install -y docker-ce docker-ce-cli containerd.io docker-buildx-plugin docker-compose-plugin
Sanity-check:
docker --version
docker compose version
Step 3: Open the Firewall
If you use UFW:
sudo ufw allow 22/tcp
sudo ufw allow 80/tcp
sudo ufw allow 443/tcp
sudo ufw enable
Headscale itself does not need any extra UDP ports for the basics. Clients use the public DERP relays Tailscale operates by default. We will switch to a private DERP later if you want.
Step 4: Create the Project Layout
sudo mkdir -p /opt/headscale/{config,data,caddy-data,caddy-config}
cd /opt/headscale
Everything Headscale persists lives under /opt/headscale. That is the one path you need to back up.
Step 5: Write the Headscale Config
Create /opt/headscale/config/config.yaml:
server_url: https://headscale.example.com
listen_addr: 0.0.0.0:8080
metrics_listen_addr: 127.0.0.1:9090
grpc_listen_addr: 127.0.0.1:50443
grpc_allow_insecure: false

noise:
  private_key_path: /var/lib/headscale/noise_private.key

prefixes:
  v4: 100.64.0.0/10
  v6: fd7a:115c:a1e0::/48
  allocation: sequential

derp:
  server:
    enabled: false
  urls:
    - https://controlplane.tailscale.com/derpmap/default
  auto_update_enabled: true
  update_frequency: 24h

disable_check_updates: false
ephemeral_node_inactivity_timeout: 30m

database:
  type: sqlite
  sqlite:
    path: /var/lib/headscale/db.sqlite

log:
  level: info
  format: text

dns:
  magic_dns: true
  base_domain: tailnet.example.com
  nameservers:
    global:
      - 1.1.1.1
      - 9.9.9.9
  search_domains: []

unix_socket: /var/run/headscale/headscale.sock
unix_socket_permission: "0770"

policy:
  mode: file
  path: ""
Two things that bite people:
base_domainmust be a domain you control, and it must not be the same asserver_url's host. Pick something liketailnet.example.comorts.example.com. You do not need to publish it on real DNS - magic DNS handles resolution inside the tailnet.prefixes.v4is the carrier-grade NAT range Tailscale uses (100.64.0.0/10). Leave it unless you have a strong reason.
Set ownership so the container can read it:
sudo chown -R 1000:1000 /opt/headscale
Step 6: Write the Compose File
Create /opt/headscale/docker-compose.yml:
services:
  headscale:
    image: headscale/headscale:0.26.1
    container_name: headscale
    restart: unless-stopped
    command: serve
    volumes:
      - ./config:/etc/headscale
      - ./data:/var/lib/headscale
    networks:
      - hsnet

  caddy:
    image: caddy:2
    container_name: caddy
    restart: unless-stopped
    ports:
      - "80:80"
      - "443:443"
    volumes:
      - ./Caddyfile:/etc/caddy/Caddyfile:ro
      - ./caddy-data:/data
      - ./caddy-config:/config
    networks:
      - hsnet

networks:
  hsnet:
Pin headscale/headscale to a specific tag - Headscale moves quickly and a latest tag has bitten people during minor version bumps. Check the project's release page for the current stable tag.
Step 7: Write the Caddyfile
Create /opt/headscale/Caddyfile:
headscale.example.com {
    encode zstd gzip

    reverse_proxy headscale:8080
}
Caddy will request a Let's Encrypt cert on first boot and renew it on its own. Tailscale's noise protocol runs over plain HTTPS, so a single reverse-proxy block covers everything the clients need.
Step 8: Start the Stack
cd /opt/headscale
sudo docker compose up -d
sudo docker compose logs -f headscale
Once you see listening and serving HTTP on 0.0.0.0:8080 and Caddy reports a successful cert, hit the URL from your laptop:
curl -sSI https://headscale.example.com/health
You should get HTTP/2 200. Anything else, jump to the troubleshooting section.
Step 9: Create a User and a Pre-Auth Key
Headscale ships its admin CLI inside the image. Run it through docker exec:
sudo docker exec headscale \
  headscale users create alice
Take note of the user ID printed in the output (usually 1 for the first user).
Now mint a pre-auth key. Pre-auth keys let nodes join without a browser flow, which is what you want on headless servers and CI runners.
sudo docker exec headscale \
  headscale preauthkeys create --user 1 --reusable --expiration 24h
Copy the key (a long hex string) somewhere you trust. It is only printed once.
Step 10: Connect Your First Node
On the Linux box you want to join, install the official Tailscale client (yes, official - Headscale only replaces the control plane):
curl -fsSL https://tailscale.com/install.sh | sh
Then bring it up against your Headscale instance:
sudo tailscale up \
  --login-server https://headscale.example.com \
  --authkey YOUR_PREAUTH_KEY_HERE \
  --accept-dns=true
Verify on the server:
sudo docker exec headscale headscale nodes list
You should see your hostname, the user alice, and an IP from 100.64.0.0/10. From any other node in the tailnet, that IP should now ping.
Step 11: Connect a macOS or iOS Client
The App Store builds talk only to Tailscale's coordinator by default. For Headscale you want the alternate builds:
- macOS standalone app: the
Tailscale-x.y.z-headscale.pkgbundle from the Headscale releases wiki. - iOS: open
https://headscale.example.com/applein Safari and follow the profile-install flow it generates.
Once installed, use the gear icon to override the coordination URL, then sign in with a fresh pre-auth key. Same drill as Linux.
Step 12: Optional - Add a Web UI
Headscale's CLI is fine, but a UI makes daily ops easier. headscale-admin is a single-page app that talks to Headscale's API.
First, mint an API key:
sudo docker exec headscale \
  headscale apikeys create --expiration 90d
Add a service to /opt/headscale/docker-compose.yml:
  admin:
    image: ghcr.io/goodieshq/headscale-admin:latest
    container_name: headscale-admin
    restart: unless-stopped
    networks:
      - hsnet
Append a route to the Caddyfile so it lives at /admin:
headscale.example.com {
    encode zstd gzip

    handle_path /admin* {
        reverse_proxy admin:80
    }

    reverse_proxy headscale:8080
}
Reload:
sudo docker compose up -d
sudo docker compose exec caddy caddy reload --config /etc/caddy/Caddyfile
Visit https://headscale.example.com/admin, paste your API key and the base URL, and you have a graphical view of users, nodes, pre-auth keys, and routes.
Step 13: Backups
Everything Headscale persists lives in /opt/headscale. The SQLite database is small (a few MB even with hundreds of nodes) and safe to copy with the .backup SQLite command.
Create /usr/local/bin/headscale-backup.sh:
#!/usr/bin/env bash
set -euo pipefail

BACKUP_DIR="/var/backups/headscale"
DATE="$(date +%F)"
mkdir -p "$BACKUP_DIR"

docker exec headscale \
  sqlite3 /var/lib/headscale/db.sqlite \
  ".backup '/var/lib/headscale/db.backup.sqlite'"

tar -czf "$BACKUP_DIR/headscale-$DATE.tar.gz" \
  -C /opt/headscale config data

find "$BACKUP_DIR" -name "headscale-*.tar.gz" -mtime +14 -delete
Make it executable and schedule it:
sudo chmod +x /usr/local/bin/headscale-backup.sh
echo "20 3 * * * root /usr/local/bin/headscale-backup.sh" | \
  sudo tee /etc/cron.d/headscale-backup
For off-site safety, push the resulting tarball to object storage with restic on the same schedule.
Troubleshooting
Caddy cannot issue a certificate. DNS has not propagated, or ports 80/443 are blocked at the provider firewall. Check with dig +short and your provider's network panel.
Clients connect but cannot reach each other. Magic DNS is off or base_domain is wrong. Confirm headscale nodes list shows IPs and that each node has --accept-dns=true. From a node, tailscale status should list peers.
headscale serve fails with "noise private key" errors. Ownership inside the container is wrong. Re-run sudo chown -R 1000:1000 /opt/headscale and restart.
iOS profile install loops. You set server_url to a host that does not match the cert Caddy issued. The server_url in config.yaml and the certificate hostname have to be byte-for-byte the same.
Pre-auth keys reject with "expired". Headscale uses UTC. If your VPS clock has drifted, NTP is broken. Run timedatectl status and re-enable systemd-timesyncd.
Going Further
- Subnet routes and exit nodes.
tailscale up --advertise-routes=10.0.0.0/24plusheadscale routes enablelets a tailnet member act as a gateway into a private LAN. Same pattern works for exit nodes. - ACLs. Headscale parses Tailscale's HuJSON ACL format. Drop a policy file at
/opt/headscale/config/acl.hujsonand pointpolicy.pathat it to lock down which users can reach which nodes. - Private DERP. If you have a second VPS in a different region, you can run Headscale's built-in DERP server there to avoid relying on Tailscale's public relays for fallback. Toggle
derp.server.enabledand open UDP3478. - OIDC login. Drop in Authentik, Keycloak, or Google as an OIDC provider and let users authenticate through SSO instead of pre-auth keys.
That's it. You now have your own coordination server on a VPS you control, talking the same protocol the official clients already speak.
Need a VPS that's a good fit for a coordination server like this? Our Linux plans include fast NVMe storage, IPv6, and a generous bandwidth allowance. See the options.