Stop Brute-Force Attacks on a VPS with CrowdSec
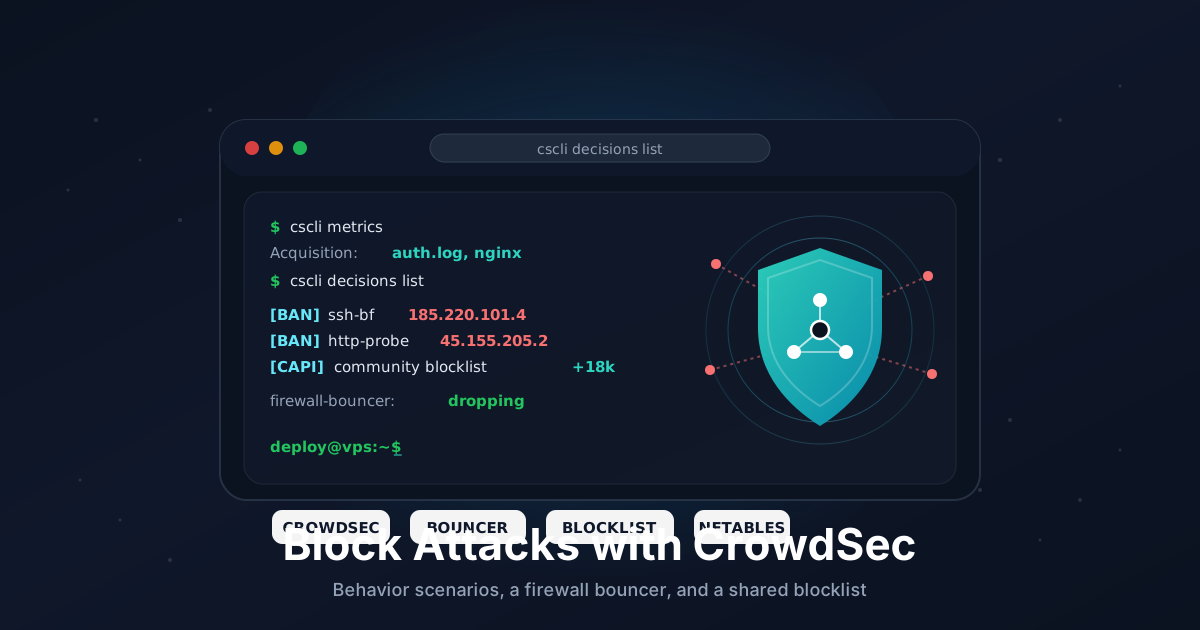
Point a fresh VPS at the public internet and within minutes the logs fill with SSH password guesses, WordPress login probes, and scanners poking at paths you have never heard of. Fail2Ban handles a lot of this by watching one server's logs and banning noisy IPs. CrowdSec takes the same idea further: it parses logs against shared behavior scenarios, then blocks attackers through a separate firewall component - and it taps into a crowd-sourced blocklist so you benefit from IPs that already attacked thousands of other machines.
This guide is written for Ubuntu 22.04 and 24.04, but the packages work the same on Debian, and similar steps apply to Alma and Rocky. We will install the CrowdSec agent, add a firewall bouncer to actually drop traffic, install detection collections for SSH and Nginx, whitelist our own IP so we do not lock ourselves out, and test a real ban.
CrowdSec pairs nicely with the basics. If you have not already locked down SSH, start with our SSH hardening guide - key-only auth plus CrowdSec is a strong combination.
TL;DR
- Install the CrowdSec agent from the official repo (
apt install crowdsec) - Install a firewall bouncer (
crowdsec-firewall-bouncer-nftables) - this does the actual blocking - Install detection collections:
crowdsecurity/sshd, pluscrowdsecurity/nginxif you run a web server - Whitelist your own IP before doing anything else, or you risk banning yourself
- Inspect activity with
cscli metrics,cscli alerts list, andcscli decisions list - The community blocklist is pulled automatically once the agent registers with the Central API
- Optional: enroll in the free web console at app.crowdsec.net for a dashboard and remote management
Total time: about 20 minutes.
What You Need
- A VPS running Ubuntu 22.04 or 24.04 with current updates
- A non-root user with sudo (do not run day-to-day as root)
- A second SSH session kept open while you test bans, in case you fence yourself out
- Optional: an Nginx, Apache, or Caddy web server if you want HTTP attack detection
- Your home or office public IP handy (
curl -4 ifconfig.mefrom your laptop)
CrowdSec is light. The agent and a firewall bouncer together use well under 100 MB of RAM, so any small Linux plan is fine.
Step 1: Update the System
Start clean:
sudo apt update
sudo apt full-upgrade -y
sudo apt autoremove -y
Reboot if the kernel was upgraded:
sudo reboot
Step 2: Install the CrowdSec Agent
CrowdSec publishes an install script that adds its package repository and GPG key, then you install with apt as usual:
curl -s https://install.crowdsec.net | sudo sh
sudo apt install -y crowdsec
That one package installs the agent (which reads logs and runs scenarios) and the Local API (which stores decisions). On Ubuntu it auto-detects common log sources during setup, including /var/log/auth.log and journald, so SSH detection works out of the box.
Confirm it is running:
sudo systemctl status crowdsec
sudo cscli version
cscli is the command-line tool you will use for everything. Take a quick look at what got detected:
sudo cscli metrics
If the service is up and cscli metrics prints a table of acquisition sources and parsers, the agent is alive. It is watching, but not yet blocking.
Step 3: Install a Firewall Bouncer
This is the piece that turns detections into actual DROP rules. On Ubuntu 24.04 the firewall is nftables by default, so install the nftables bouncer:
sudo apt install -y crowdsec-firewall-bouncer-nftables
If your server still uses legacy iptables (some older 22.04 setups, or if you run UFW configured against iptables), install the iptables variant instead:
sudo apt install -y crowdsec-firewall-bouncer-iptables
The bouncer registers itself with the Local API automatically during install. Verify the link:
sudo cscli bouncers list
sudo systemctl status crowdsec-firewall-bouncer
You should see one bouncer listed with a valid API key and a recent "last pull" time. The bouncer creates its own nftables table (crowdsec) and continuously pulls the current ban list from the agent, so blocked IPs are dropped before they reach SSH, your web server, or anything else.
A note on UFW: the firewall bouncer works alongside UFW because it inserts its own table rather than editing UFW's rules. You do not need to disable UFW. Just make sure UFW is still allowing the ports you actually use.
Step 4: Install Detection Collections
Collections are bundles of parsers and scenarios for a given service. The SSH collection is the one everyone wants:
sudo cscli collections install crowdsecurity/sshd
If you run a web server, add the matching collection. For Nginx:
sudo cscli collections install crowdsecurity/nginx
For Apache:
sudo cscli collections install crowdsecurity/apache2
There are collections for many common stacks - WordPress, Caddy, Traefik, MariaDB, and more. Browse what is available with sudo cscli collections list -a and the hub at hub.crowdsec.net.
If you installed a web collection, tell CrowdSec where the access logs live. Edit the acquisition config:
sudo nano /etc/crowdsec/acquis.yaml
Add a block for Nginx (adjust the path if you use custom log locations):
---
filenames:
  - /var/log/nginx/access.log
  - /var/log/nginx/error.log
labels:
  type: nginx
Reload the agent so it picks up the new collections and log sources:
sudo systemctl reload crowdsec
sudo cscli metrics
In the metrics output you should now see your new parsers and scenarios listed with read/parsed counts climbing as traffic comes in.
Step 5: Whitelist Your Own IP
Before you test anything, protect yourself. CrowdSec scenarios can trip on your own behavior - a few mistyped SSH logins or a burst of requests during testing - and the bouncer will happily firewall you off at the network level.
Create a whitelist parser. CrowdSec applies whitelists early in the pipeline, so a whitelisted IP never generates a decision in the first place:
sudo nano /etc/crowdsec/parsers/s02-enrich/mywhitelists.yaml
Paste this, replacing the example IP with your own (you can list several, and CIDR ranges work too):
name: crowdsecurity/whitelists
description: "Whitelist trusted source IPs"
whitelist:
  reason: "trusted admin IPs"
  ip:
    - "203.0.113.10"
  cidr:
    - "198.51.100.0/24"
Reload and confirm there are no parse errors:
sudo systemctl reload crowdsec
sudo cscli parsers list | grep -i whitelist
If your home IP is dynamic, consider whitelisting your VPN or Tailscale range instead, or simply rely on the second-session-plus-console safety net.
Step 6: Test a Ban and an Unban
You do not need a real attacker to confirm the chain works end to end. Add a manual decision against a throwaway test IP (never your own):
sudo cscli decisions add --ip 192.0.2.123 --duration 4m --reason "manual test"
List active decisions:
sudo cscli decisions list
You should see your test IP with a ban action and a countdown. Now confirm the bouncer actually pushed it into the firewall:
sudo nft list table ip crowdsec 2>/dev/null | grep 192.0.2.123
(On an iptables setup, check sudo iptables -L -n | grep 192.0.2.123 instead.) Seeing the IP in the table proves the agent, Local API, and bouncer are all talking to each other. Clean up:
sudo cscli decisions delete --ip 192.0.2.123
To watch real activity once the box has been online a while:
sudo cscli alerts list
sudo cscli decisions list
After a day on the public internet, the alerts list usually has plenty of SSH brute-force entries, and the decisions list shows the IPs currently banned.
Step 7: The Community Blocklist
One of CrowdSec's best features is free. When the agent installs, it registers an anonymous machine with the Central API, and in return it pulls a curated blocklist of IPs that have aggressively attacked other CrowdSec users recently. These are blocked proactively, before they ever touch your server.
Check that the registration happened:
sudo cscli capi status
If it reports the machine is registered and can reach the API, you are already getting community decisions. You can see how many in the metrics output under the Central API / blocklist counters. No configuration needed - it just works, and the data shared back is limited to attack signals, not your traffic.
Step 8: (Optional) Enroll in the Web Console
The command line covers everything, but the free hosted console at app.crowdsec.net gives you a dashboard, alert timelines, and the ability to manage multiple servers in one place. It is optional and separate from the community blocklist.
Sign up, create an account, and grab your enrollment key from the console. Then on the server:
sudo cscli console enroll YOUR_ENROLLMENT_KEY
sudo systemctl reload crowdsec
Accept the new instance in the web console and your server's alerts start flowing into the dashboard within a minute or two. From there you can also subscribe to additional curated blocklists.
To get notified when something is banned, wire CrowdSec notifications into a push channel - our self-hosted ntfy guide is a simple target for that.
Step 9: Keep It Current
CrowdSec's strength is its scenarios, and those get updated. Refresh the hub periodically (a weekly cron or unattended-upgrades-style schedule is plenty):
sudo cscli hub update
sudo cscli hub upgrade
sudo systemctl reload crowdsec
The Debian/Ubuntu package also updates via normal apt upgrade, so if you run unattended security upgrades the engine itself stays patched. The hub commands above keep the detection content fresh.
Troubleshooting
Attackers show up in cscli alerts but are never blocked. You skipped the bouncer, or it is not running. Check sudo cscli bouncers list and sudo systemctl status crowdsec-firewall-bouncer. No bouncer means no blocking.
cscli metrics shows zero lines parsed for SSH. The auth log path or backend was not detected. Confirm /var/log/auth.log exists and check /etc/crowdsec/acquis.yaml. On minimal images that log to journald only, make sure a journald source is present.
Bouncer installed but nft list table ip crowdsec is empty. The bouncer may be using a different backend than your firewall. If your system is nftables but you installed the iptables bouncer (or vice versa), remove it and install the matching package. Check the mode in /etc/crowdsec/bouncers/crowdsec-firewall-bouncer.yaml.
I locked myself out. Use your provider's web or VNC console to log in, then run sudo cscli decisions delete --ip YOUR_IP and add yourself to the whitelist parser from Step 5. Reload with sudo systemctl reload crowdsec.
cscli capi status reports an error. Outbound HTTPS to the Central API is blocked, or registration failed. Confirm the server can reach the internet on 443, then re-register with sudo cscli capi register and reload the agent.
Going Further
- Add more bouncers. The firewall bouncer is network-level. For web apps you can add an application bouncer (Nginx, Caddy, Traefik, or a PHP/WordPress plugin) that returns a CAPTCHA instead of a hard block - friendlier for false positives behind a reverse proxy.
- Tune scenarios. If a legitimate workflow keeps tripping a scenario, you can adjust thresholds or whitelist specific patterns rather than whole IPs. The hub documents each scenario's trigger conditions.
- Run it alongside Fail2Ban, or replace it. Many people migrate from Fail2Ban to CrowdSec for the shared intelligence. They can coexist, but pick one owner per service to avoid duplicate bans. Our Fail2Ban guide is a good comparison point.
- Centralize across servers. Point multiple agents at one Local API, or use the console to manage a fleet. The blocklist and decisions can be shared so a ban on one box protects the rest.
CrowdSec is not a replacement for the fundamentals - key-only SSH, a firewall, and least privilege still come first. But layered on top, it turns the constant background noise of the internet into a quiet, self-updating wall, and it does it on a few megabytes of RAM.
Need a VPS to run CrowdSec on? Our Linux VPS plans ship with current Ubuntu images, fast NVMe storage, and a web console for the day you firewall yourself out.