Self-Host Pi-hole on a VPS for Network-Wide Ad Blocking
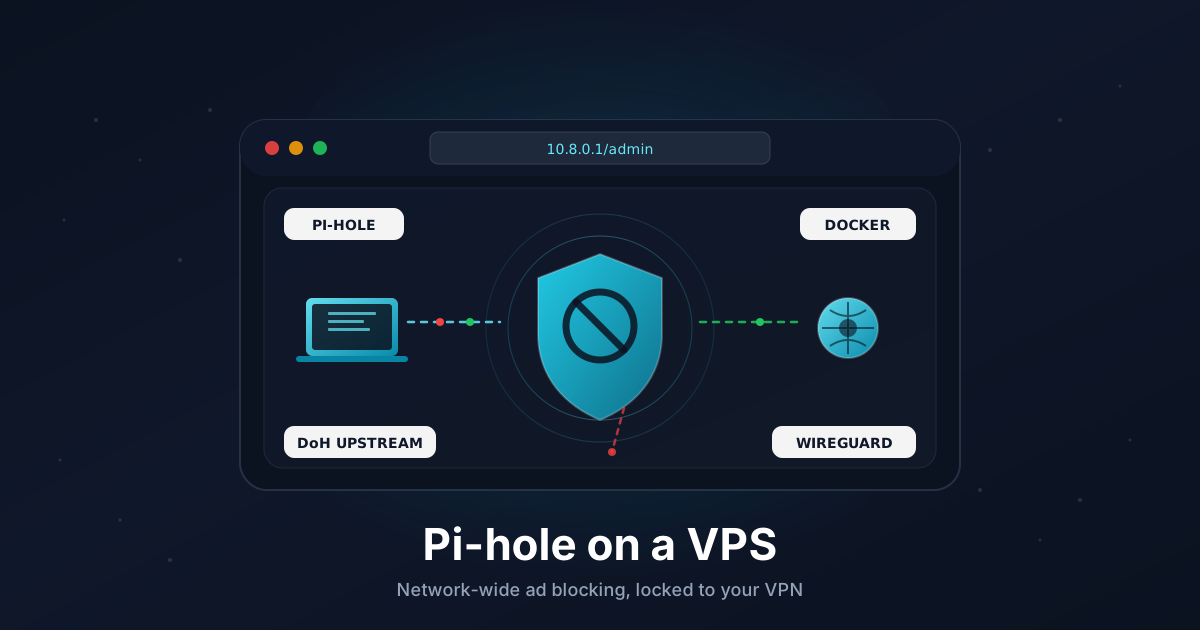
Browser ad blockers only cover the browser. Your phone's apps, your smart TV, the telemetry baked into half the software on your laptop - none of that goes through uBlock Origin. Pi-hole fixes that at the DNS layer: it answers every name lookup on your devices and quietly returns nothing for known ad and tracker domains. One resolver, every device, everywhere.
The usual home setup runs Pi-hole on a Raspberry Pi on your LAN. But if you put it on a VPS, it follows you - your phone on mobile data, your laptop in a coffee shop, a relative's network - all get the same filtered DNS. The catch is that a DNS resolver open to the public internet is a liability, so this guide does it the right way: Pi-hole listens only on a private WireGuard interface, never on a public port.
TL;DR
- Set up WireGuard first so Pi-hole has a private interface to listen on
- Install Docker and run Pi-hole plus a
cloudflaredDoH sidecar from onedocker-compose.yml - Bind Pi-hole's DNS and admin ports to the WireGuard IP (
10.8.0.1), never0.0.0.0 - Encrypt upstream queries to Cloudflare over HTTPS so your VPS host can't read them
- Point each device's DNS at
10.8.0.1through the VPN tunnel - Back up the
etc-piholevolume nightly with Teleporter
Total time: around 30 minutes, assuming WireGuard is already up.
What You Need
- A VPS with 512 MB RAM running Ubuntu 22.04 or 24.04 (Pi-hole idles around 80 MB)
- Root or sudo access
- A working WireGuard server on the VPS - if you don't have one, follow our WireGuard guide first and come back. This guide assumes the server's tunnel address is
10.8.0.1. - The WireGuard client app on at least one device to test with
No domain is required. The admin UI and DNS both live inside the tunnel, so there is nothing public to point a DNS record at.
Why Bind to WireGuard Instead of the Public IP
There are three common ways to reach a VPS-hosted Pi-hole, and only one is safe to leave running:
- Open on the public IP. Simple, and a disaster. You become an open resolver. Skip it.
- Public IP, firewalled to your home address. Works until your home IP changes (most do), then your DNS silently breaks on the road.
- Bound to a VPN interface. Pi-hole only answers on
10.8.0.1, which is unreachable unless you're on the tunnel. No public attack surface, and it works from any network as long as the VPN is up.
The third option is the one this guide builds. If you prefer Tailscale to raw WireGuard, the same idea applies - bind Pi-hole to your Tailscale IP instead and read our Tailscale guide for the client setup.
Step 1: Install Docker
On a fresh Ubuntu box:
sudo apt update
sudo apt install -y ca-certificates curl

sudo install -m 0755 -d /etc/apt/keyrings
sudo curl -fsSL https://download.docker.com/linux/ubuntu/gpg \
  -o /etc/apt/keyrings/docker.asc
sudo chmod a+r /etc/apt/keyrings/docker.asc

echo "deb [arch=$(dpkg --print-architecture) signed-by=/etc/apt/keyrings/docker.asc] \
  https://download.docker.com/linux/ubuntu $(. /etc/os-release && echo $VERSION_CODENAME) stable" | \
  sudo tee /etc/apt/sources.list.d/docker.list > /dev/null

sudo apt update
sudo apt install -y docker-ce docker-ce-cli containerd.io docker-buildx-plugin docker-compose-plugin
Confirm it works:
docker --version
docker compose version
Step 2: Free Up Port 53 on the Host
Ubuntu ships systemd-resolved, which listens on 127.0.0.53:53 and will fight Pi-hole for the port. We only need to free the binding, not disable DNS resolution for the host.
Check what's listening:
sudo ss -lntup | grep ':53'
Edit /etc/systemd/resolved.conf and set these two lines:
[Resolve]
DNSStubListener=no
Then point the host's own resolver at a real upstream and restart:
sudo ln -sf /run/systemd/resolve/resolv.conf /etc/resolv.conf
sudo systemctl restart systemd-resolved
Re-run the ss command - nothing should be holding :53 now. Because Pi-hole will only bind to 10.8.0.1, the host itself keeps resolving through systemd-resolved on the loopback. This avoids a chicken-and-egg problem where the VPS can't resolve anything if Pi-hole is down.
Step 3: Lock Down the Firewall
This is the step that keeps you off your provider's abuse list. With UFW:
sudo ufw allow 22/tcp
sudo ufw allow 51820/udp
sudo ufw enable
Port 51820/udp is WireGuard. Notice what is not here: no 53, no 80, no 443. Those are reachable only across the tunnel because we bind them to 10.8.0.1, and traffic on the WireGuard interface is not filtered by these public rules.
Verify there is no public DNS listener once everything is running:
sudo ss -lntup | grep ':53'
Every line should show 10.8.0.1, never 0.0.0.0 or your public IP.
Step 4: Create the Project Layout
sudo mkdir -p /opt/pihole/etc-pihole
cd /opt/pihole
The single etc-pihole directory holds the config (pihole.toml), the gravity blocklist database, and your query history. That is the one path you back up.
Step 5: Write the Compose File
Pi-hole v6 folded the web server and DNS engine into one binary (FTL), so configuration is now driven by FTLCONF_ environment variables. Create /opt/pihole/docker-compose.yml:
services:
  cloudflared:
    image: cloudflare/cloudflared:latest
    container_name: cloudflared
    restart: unless-stopped
    command: proxy-dns
    environment:
      TUNNEL_DNS_ADDRESS: 0.0.0.0
      TUNNEL_DNS_PORT: "5053"
      TUNNEL_DNS_UPSTREAM: "https://1.1.1.1/dns-query,https://1.0.0.1/dns-query"
    networks:
      dns_net:
        ipv4_address: 172.30.0.2

  pihole:
    image: pihole/pihole:2025.04.0
    container_name: pihole
    restart: unless-stopped
    depends_on:
      - cloudflared
    ports:
      - "10.8.0.1:53:53/tcp"
      - "10.8.0.1:53:53/udp"
      - "10.8.0.1:80:80/tcp"
    environment:
      TZ: "Europe/Berlin"
      FTLCONF_webserver_api_password: "CHANGE_ME_LONG_RANDOM"
      FTLCONF_dns_upstreams: "172.30.0.2#5053"
      FTLCONF_dns_listeningMode: "all"
      FTLCONF_dns_dnssec: "true"
    volumes:
      - ./etc-pihole:/etc/pihole
    cap_add:
      - SYS_NICE
    networks:
      dns_net:
        ipv4_address: 172.30.0.3

networks:
  dns_net:
    driver: bridge
    ipam:
      config:
        - subnet: 172.30.0.0/24
A few of these lines do real work and are easy to get wrong:
10.8.0.1:53:53is the whole point. Publishing the port on a specific host IP means Docker only listens on the WireGuard interface. Drop the10.8.0.1:prefix and you have published an open resolver to the world.FTLCONF_dns_upstreams: "172.30.0.2#5053"sends every upstream query to thecloudflaredsidecar, which forwards it over encrypted HTTPS. dnsmasq can't take a hostname here, socloudflaredgets a static IP on the Docker network.FTLCONF_dns_listeningMode: "all"is required because requests arrive from the Docker gateway, which FTL treats as non-local and would otherwise refuse.- Pin the image tag.
pihole/pihole:latesthas shipped breaking changes between releases - check the release notes and set the current stable tag.
Generate a strong admin password and paste it in place of CHANGE_ME_LONG_RANDOM:
openssl rand -base64 24
Step 6: Start the Stack
The WireGuard interface must exist before Docker tries to bind to 10.8.0.1, so bring up the tunnel first:
sudo wg show          # confirm wg0 is up and shows 10.8.0.1
cd /opt/pihole
sudo docker compose up -d
sudo docker compose logs -f pihole
Wait for the log line FTL started. Then confirm Pi-hole answers on the tunnel address but is dead everywhere else:
dig +short google.com @10.8.0.1
dig +short google.com @127.0.0.1   # should time out - good
The first command returns an IP; the second should fail. That failure is the proof your resolver isn't public.
Step 7: Point Your Devices at Pi-hole
Because DNS lives inside the tunnel, the cleanest approach is to push it through WireGuard itself. On each client, add a DNS line to the [Interface] block of the WireGuard config:
[Interface]
PrivateKey = <client-private-key>
Address = 10.8.0.2/32
DNS = 10.8.0.1

[Peer]
PublicKey = <server-public-key>
Endpoint = your.vps.ip:51820
AllowedIPs = 10.8.0.0/24
PersistentKeepalive = 25
If you want all traffic, not just LAN-bound queries, to use the tunnel, set AllowedIPs = 0.0.0.0/0, ::/0 instead. Either way, the moment the tunnel is up, the device resolves through Pi-hole.
Reconnect the client, then verify from that device:
nslookup doubleclick.net
A blocked domain returns 0.0.0.0. A normal one resolves as usual. You are now filtering ads on that device from any network on earth.
Step 8: Add Blocklists and Confirm Filtering
Open the admin UI in a browser while connected to the VPN:
http://10.8.0.1/admin
Log in with the password from Step 5. Pi-hole ships with StevenBlack's combined list, which covers most ads and trackers out of the box. To add more, go to Lists, paste a list URL (the Firebog "ticked" lists are a sane, low-false-positive starting point), and save. Then rebuild the gravity database:
sudo docker exec pihole pihole -g
Watch the Query Log in the dashboard for a minute of real traffic. You'll see blocked domains marked in red. If a site breaks, find the offending domain there and click to whitelist it - that's the daily reality of running a sinkhole, and it's rare once your lists settle.
Step 9: Back Up the Configuration
Everything Pi-hole persists is in /opt/pihole/etc-pihole, and Pi-hole's Teleporter feature can export a clean, portable archive. Create /usr/local/bin/pihole-backup.sh:
#!/usr/bin/env bash
set -euo pipefail

BACKUP_DIR="/var/backups/pihole"
DATE="$(date +%F)"
mkdir -p "$BACKUP_DIR"

docker exec pihole pihole-FTL --teleporter \
  > "$BACKUP_DIR/pihole-teleporter-$DATE.zip"

find "$BACKUP_DIR" -name "pihole-teleporter-*.zip" -mtime +14 -delete
Make it executable and schedule it:
sudo chmod +x /usr/local/bin/pihole-backup.sh
echo "30 3 * * * root /usr/local/bin/pihole-backup.sh" | \
  sudo tee /etc/cron.d/pihole-backup
Restoring is a drag-and-drop of that zip under Settings - Teleporter in the UI. For off-site safety, push the backup directory to object storage with restic on the same schedule.
Troubleshooting
Docker fails to start with bind: cannot assign requested address. The WireGuard interface wasn't up when Docker tried to bind 10.8.0.1. Run sudo wg-quick up wg0, then sudo docker compose up -d. To make this survive reboots, have the WireGuard service start before Docker.
Devices on the VPN can't resolve anything. Either the DNS = 10.8.0.1 line is missing from the client config, or 10.8.0.1 isn't inside the client's AllowedIPs. Both must be present. Test the path directly with dig @10.8.0.1 example.com from the client.
Every domain resolves but nothing is blocked. Gravity is empty or stale. Run sudo docker exec pihole pihole -g and confirm the dashboard shows a non-zero "Domains on Adlists" count.
Pi-hole answers slowly or upstream lookups fail. The cloudflared sidecar is down. Check docker logs cloudflared and confirm FTLCONF_dns_upstreams points at 172.30.0.2#5053.
The admin page asks for a password you don't have. Reset it from the shell: sudo docker exec -it pihole pihole setpassword.
Going Further
- Encrypted admin over HTTPS. If you'd rather reach the dashboard on a real domain than an IP, put Caddy in front of Pi-hole's web port - still bound to the tunnel - for automatic TLS and a friendlier URL.
- Local DNS records. Under Settings - Local DNS Records you can map names like
nas.hometo private IPs, giving every tunneled device clean internal hostnames. - Per-client blocking with groups. Assign stricter blocklists to kids' devices and lighter ones to your own using Pi-hole's Groups and Clients pages.
- A second resolver for redundancy. DNS is a single point of failure. Run a second Pi-hole on another VPS, bind it to a second tunnel address, and list both in your client
DNSline so a reboot never takes your internet down.
That's it. One resolver on a VPS you control, filtering ads and trackers on every device you own, reachable from anywhere - and invisible to everyone else.
Need a VPS to run your own DNS resolver? Our Linux plans include fast NVMe storage, IPv6, and a generous bandwidth allowance - plenty for Pi-hole and a VPN. See the options.